
DANGER ELECTRICAL SHOCK
Pinball machines have high voltages which can cause DANGER TO LIFE AND LIMB. TURN POWER OFF and UNPLUG PINBALL MACHINE prior to installation. Pinball machines are high voltage and can cause electrical shock.
SAFETY GLASSES are also recommended while working with or installing pinball parts.
Please follow these safety instructions as well as all installation instructions. Failure to follow these instructions may result in damage to the pinball machine, accessory or other parts. Please see our Disclaimer for associated risks and responsibilities (Section 13 in our Terms of Service) prior to installation.
Images included in these instructions are of an installed prototype and may vary from your product slightly.
If you have questions or concerns regarding the proper installation of this part, please contact us for assistance.
When removing screws from the playfield, reinstall by first turning them counter-clockwise to match the original groove in order to respect the integrity of the playfield wood.
Installation Steps:
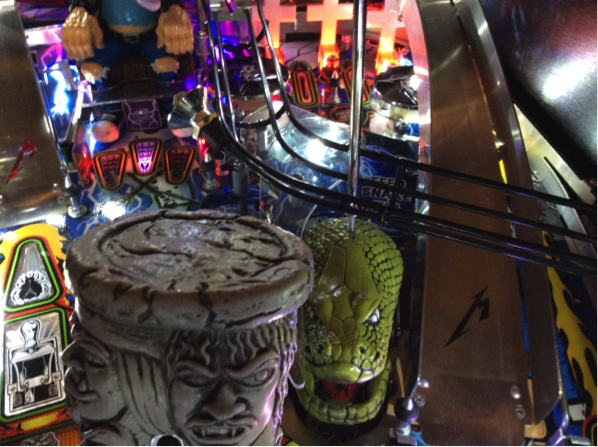
- Most fangs can be installed by wiggling them between the top bracket and the top lip of the snake. The cut out circle will clip onto a post inside the snake’s mouth. If this does not work, go to step 2.
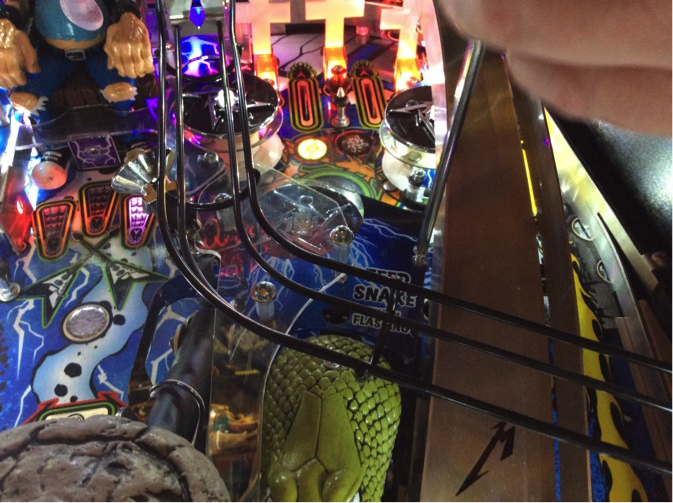
- Remove LED and the one screw behind the snake’s head. The screwdriver almost rests on the pop bumper for access.

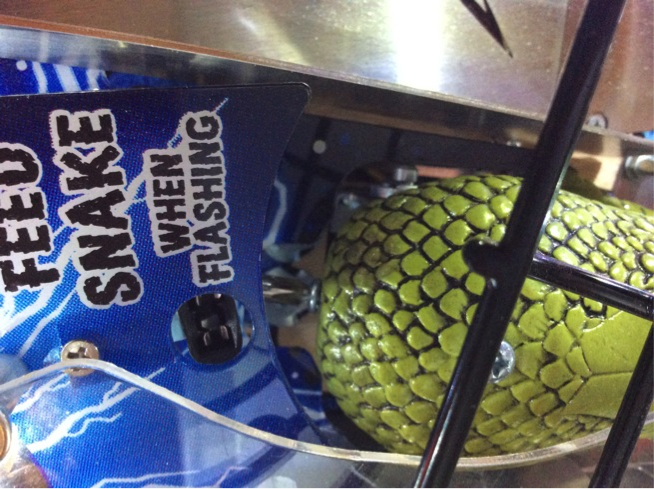
- Swing the plastic to get access to the screw behind the snake’s head. Remove the bolt. Be careful so the bolt does not fall down under the playfield.

- Remove the top screw from the snake’s head.

- Wiggle the head just enough to make some space between the top bracket and the top lip of the snake. The snake fangs slide in between the metal bracket and the top of the snake mouth. Push the fangs in slowly. The cut out circle will clip onto a post inside the snake's mouth. Still not working? See our instructions below.

Enjoy!
*Still not working?
Don't worry, it's not you. Snakes vary a bit and some need to be opened from the inside. First you'll need to find what's called an offset phillips screwdriver (pictured below).
The snake has an additional screw on the top, inside the mouth. You may need to remove this screw in order to loosen up the snake 'gums'. Loosen about three turns and gently lift... completely removing screw isn't necessary. Slide your fangs in, tighten and done!
Copyright Mezel Mods- 2016. All rights reserved. Because stealing is wrong and mean.


Comments
1 comment
One user shared this helpful information on his install:
It´s of great help to magnetize the Philips screwdriver tip (with the pinball woofer, for example), avoiding a possible fall of the back snake screw. Even loosening the top and back snake screws, there is another screw and post in the middle of the snake top bracket (where we are going to push the mod), so an small (2 inch long) phillips screwdriver added to the kit would have been very welcome. As there is a very very tiny space, you have to push VERY HARD on the fangs assembly. It´s of great help examining the middle bottom part of the piece (looking to the ground, just near its "clip") because there is an small dent-stair in the shape that does not let you push it into the snake head (I wasted half an hour until I realised this).
Please sign in to leave a comment.