
These instructions are applicable to the following products:
__________________________________________________


DANGER ELECTRICAL SHOCK
Pinball machines have high voltages which can cause DANGER TO LIFE AND LIMB. TURN POWER OFF and UNPLUG PINBALL MACHINE prior to installation. Pinball machines are high voltage and can cause electrical shock.
SAFETY GLASSES are also recommended while working with or installing pinball parts.
Please follow these safety instructions as well as all installation instructions. Failure to follow these instructions may result in damage to the pinball machine, accessory or other parts. Please see our Disclaimer for associated risks and responsibilities (Section 13 in our Terms of Service) prior to installation.
Images included in these instructions are of an installed prototype and may vary from your product slightly.
If you have questions or concerns regarding the proper installation of this part, please contact us for assistance.
When removing screws from the playfield, reinstall by first turning them counter-clockwise to match the original groove in order to respect the integrity of the playfield wood.
NOTE: This product requires the replacement of one of your GI bulbs with a frosted white dome bulb. If you prefer not to utilize the replacement bulb, a set of alligator clips can be utilized instead. Please note that alligator clips are not intended for permanent connections and can come loose potentially causing shorts.
- Turn off the game and remove the glass. Remove balls and slide playfield onto service rails.
- Identify which flasher you will install the Tesla.
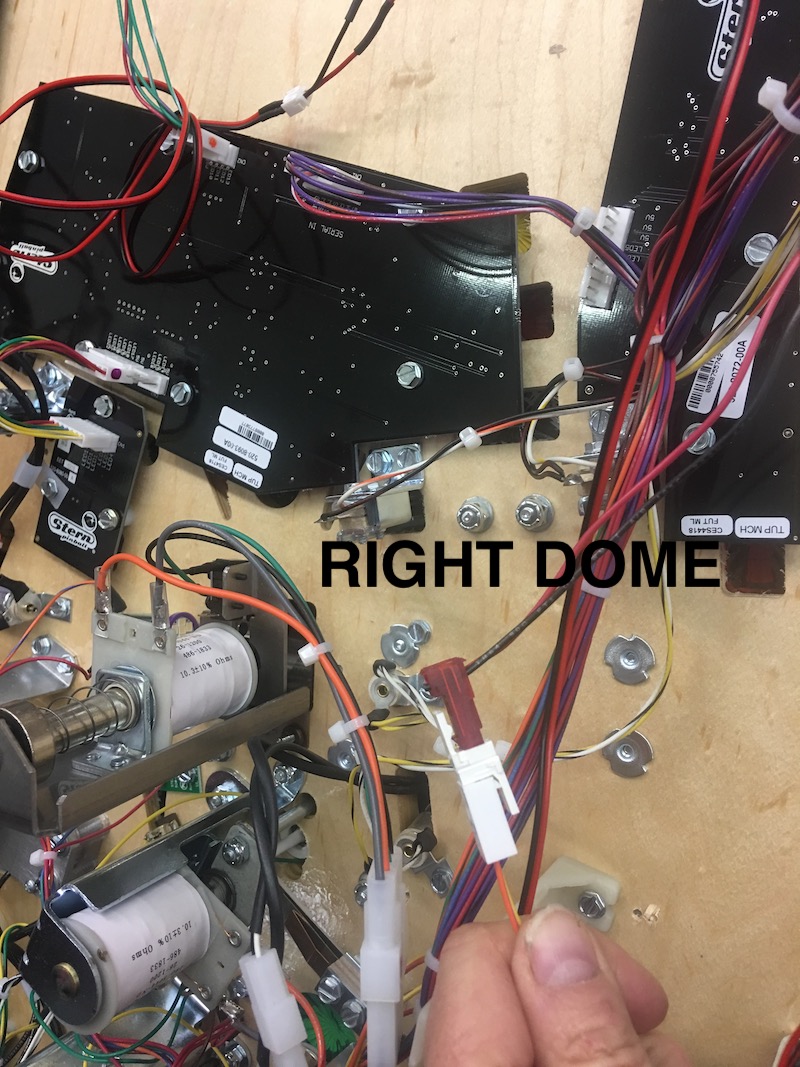
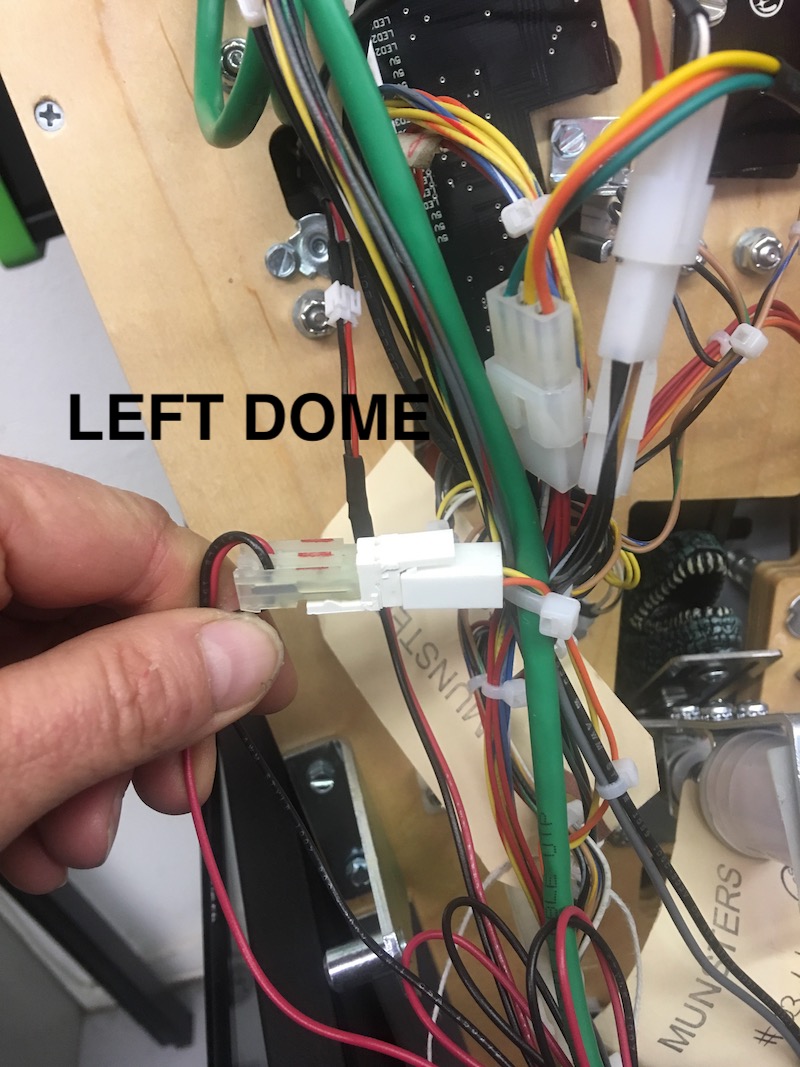
- Lift the playfield and find the flasher dome connector. Each dome is shown below on the Pro version of the game. Unplug the connector and lower the playfield.

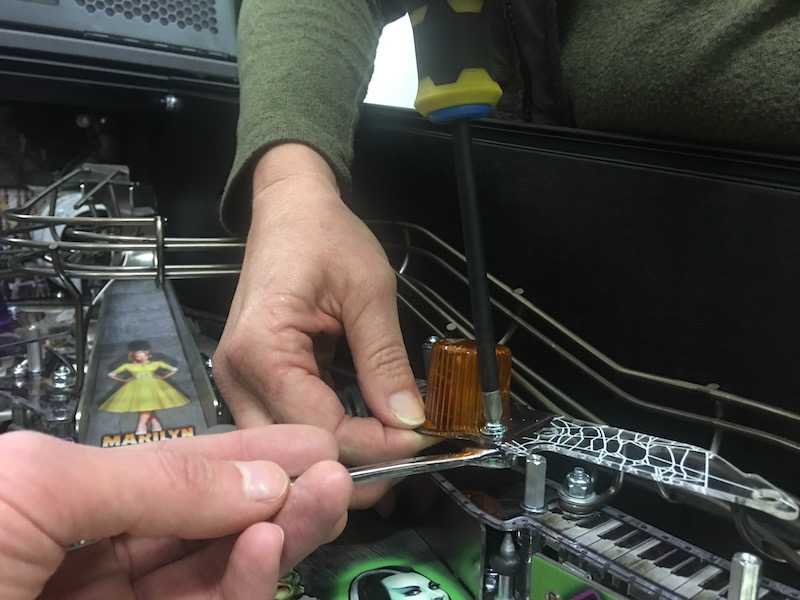
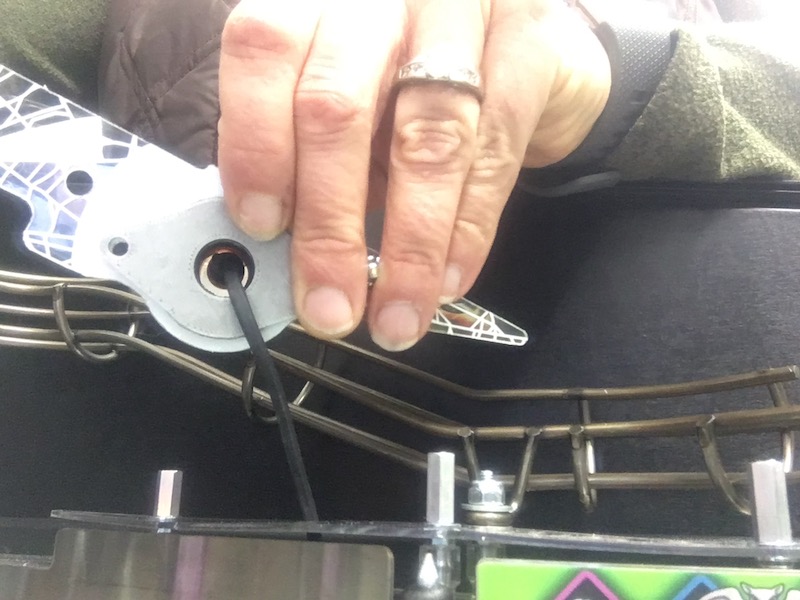
- Utilize a wrench and screw driver to remove the plastic holding the flasher dome in place. Set aside hardware for reuse in securing the Tesla coil. Remove stock LED by pulling wiring harness through the top of the playfield. Set aside the flasher dome and wiring harness- it will not be utilized in final assembly.
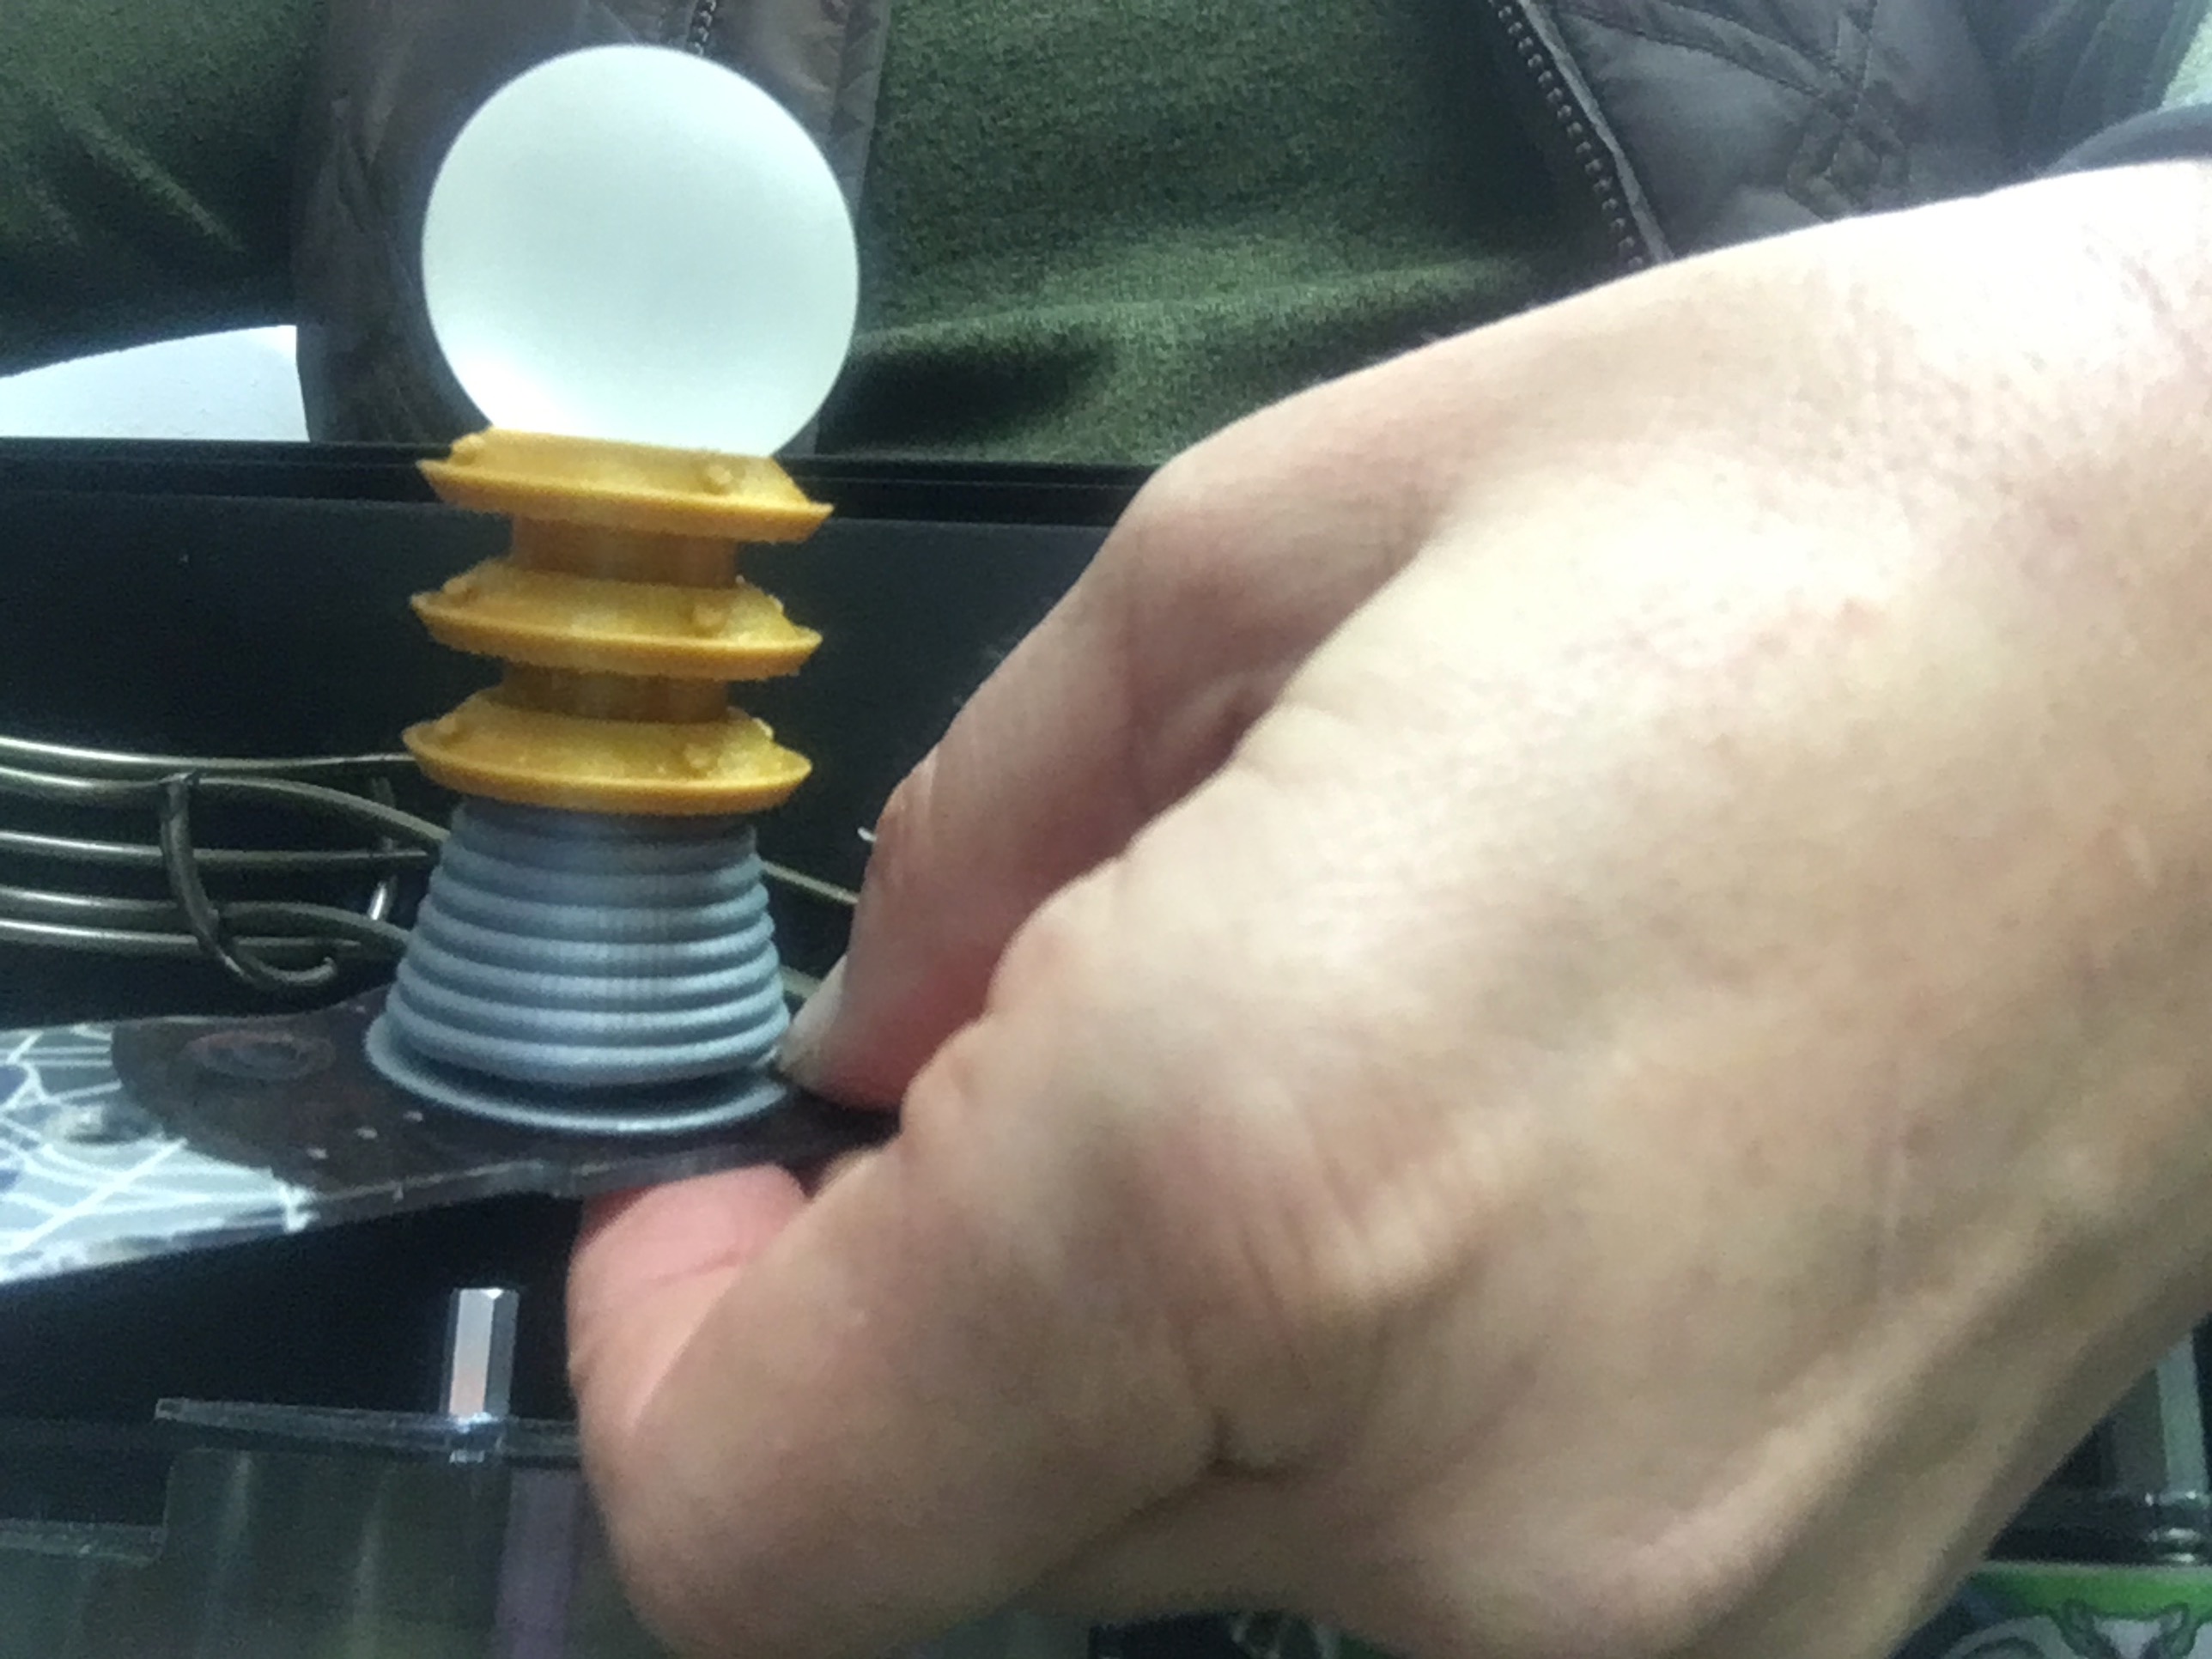
- Remove Tesla Coil bottom bracket from coil and place pieces on top and underneath sides of plastic, aligning screw holes. Snap bottom bracket into place inside top portion of Tesla Coil. Feed wiring through hole in the playfield where factory wiring was fed through.
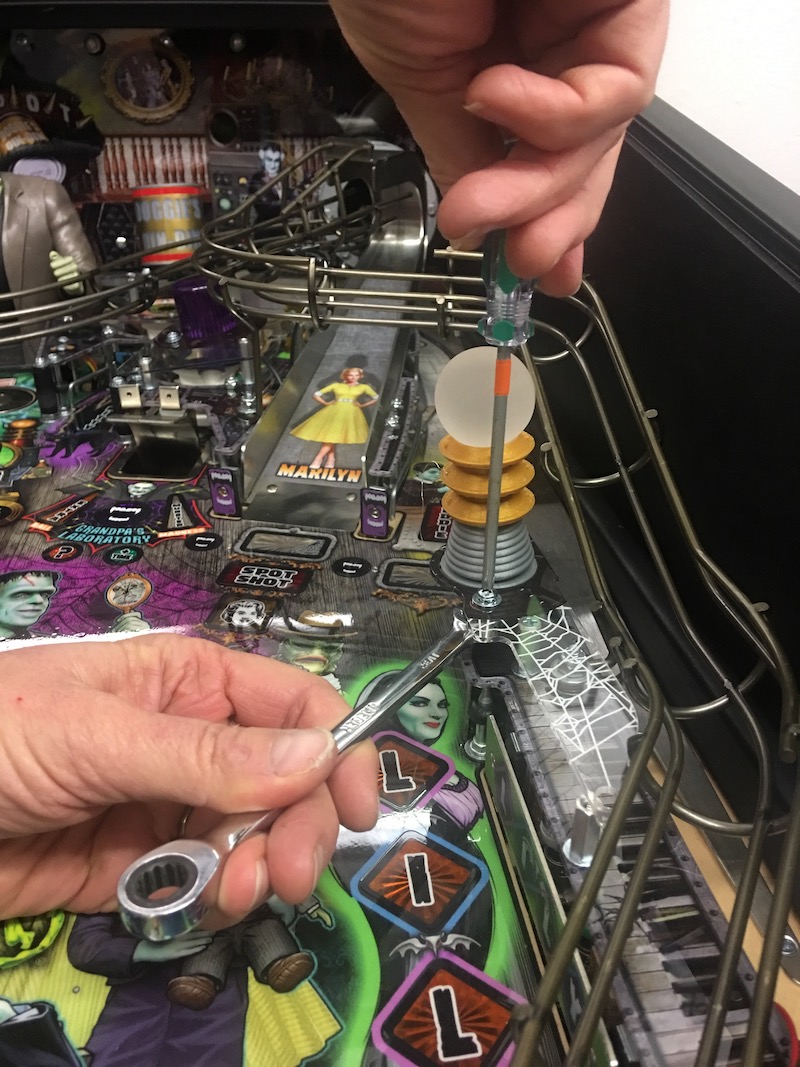
- Reattach plastic with new Tesla Coil to playfield using factory hardware.
- Lift playfield and locate Tesla Coil wiring. Connect to factory connection unplugged in Step 3.
- Lower playfield and installation is complete.
Copyright Mezel Mods- 2019. All rights reserved. Because stealing is wrong and mean.
Comments
0 comments
Please sign in to leave a comment.