


DANGER ELECTRICAL SHOCK
Pinball machines have high voltages which can cause DANGER TO LIFE AND LIMB. TURN POWER OFF and UNPLUG PINBALL MACHINE prior to installation. Pinball machines are high voltage and can cause electrical shock.
SAFETY GLASSES are also recommended while working with or installing pinball parts.
Please follow these safety instructions as well as all installation instructions. Failure to follow these instructions may result in damage to the pinball machine, accessory or other parts. Please see our Disclaimer for associated risks and responsibilities (Section 13 in our Terms of Service) prior to installation.
Images included in these instructions are of an installed prototype and may vary from your product slightly.
If you have questions or concerns regarding the proper installation of this part, please contact us for assistance.
When removing screws from the playfield, reinstall by first turning them counter-clockwise to match the original groove in order to respect the integrity of the playfield wood.
NOTE: This product installation requires the following tools:
- Hot glue gun
- 9v battery or other power source
- Electrical tape
Please watch this installation video and utilize the steps below to follow along in English (YouTube CC translation is not very effective).
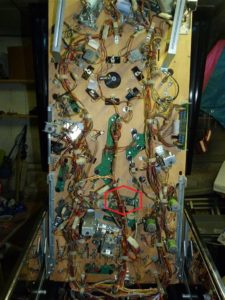
- Remove the Boney skull from your game. Please consult your game manual for details on how to complete this step.
- Plug the glue gun in to pre-heat.
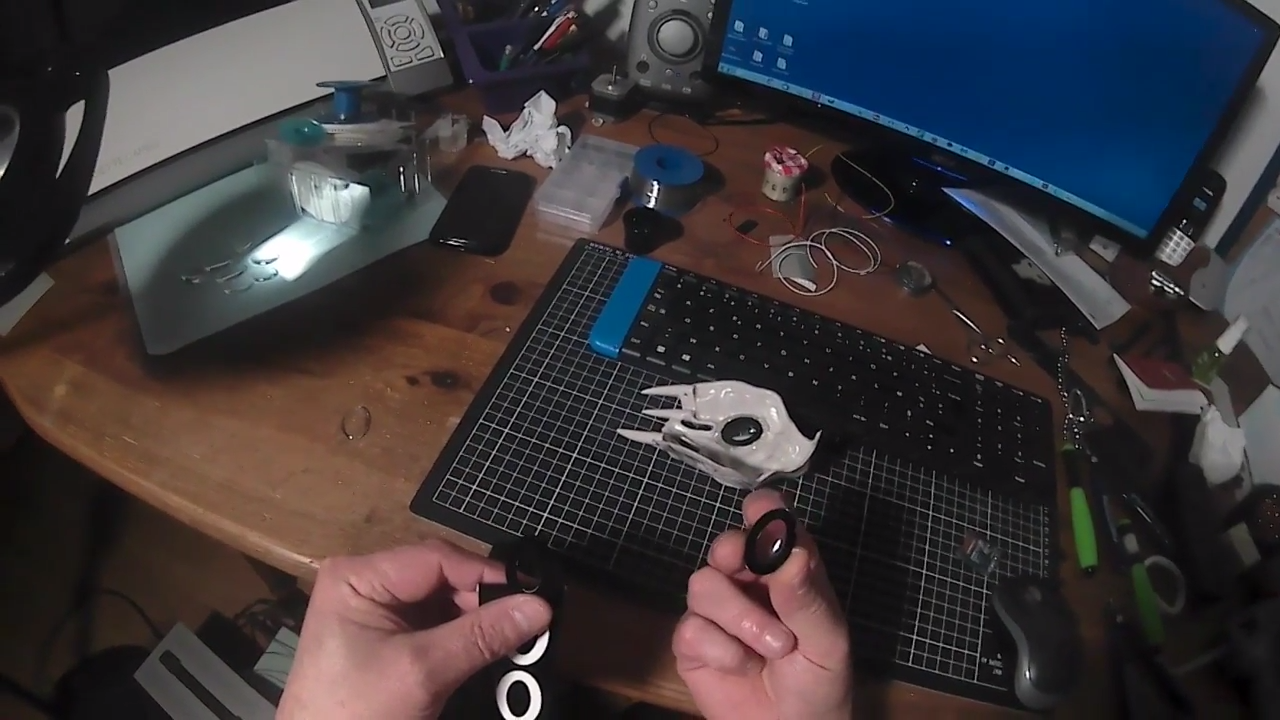
- Remove the black vinyl ovals and attach to the outside edge of the eye glass pieces. The vinyl will help form the edges of the eye.
- Place one eye glass piece inside the skull. Hold it in place and turn over skull to make sure there are no open spaces in the corner of the eyes. Once the eye glass is properly positioned, hold in place and turn skull over taking care not to move eyeglass piece.
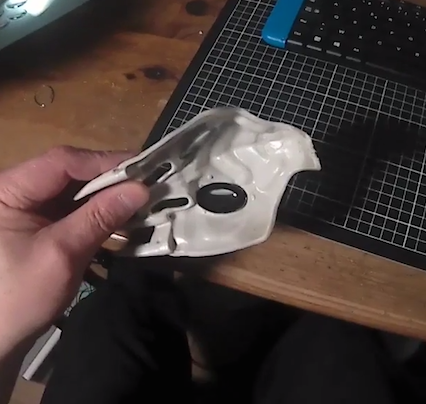
- Place a small bit of glue on the edge of the eyeglass vinyl to secure in place (the corner of the eye). Allow glue to dry completely before proceeding to next step.
- Add glue around the remaining edge of the eyeglass vinyl and allow to dry completely. Repeat for second eyeglass.

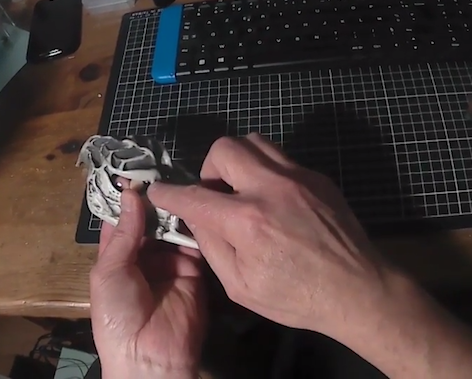
- Take controller board and screens from packaging. Attach screens to controller board. Utilize either a 9v battery or power source to test screen function.
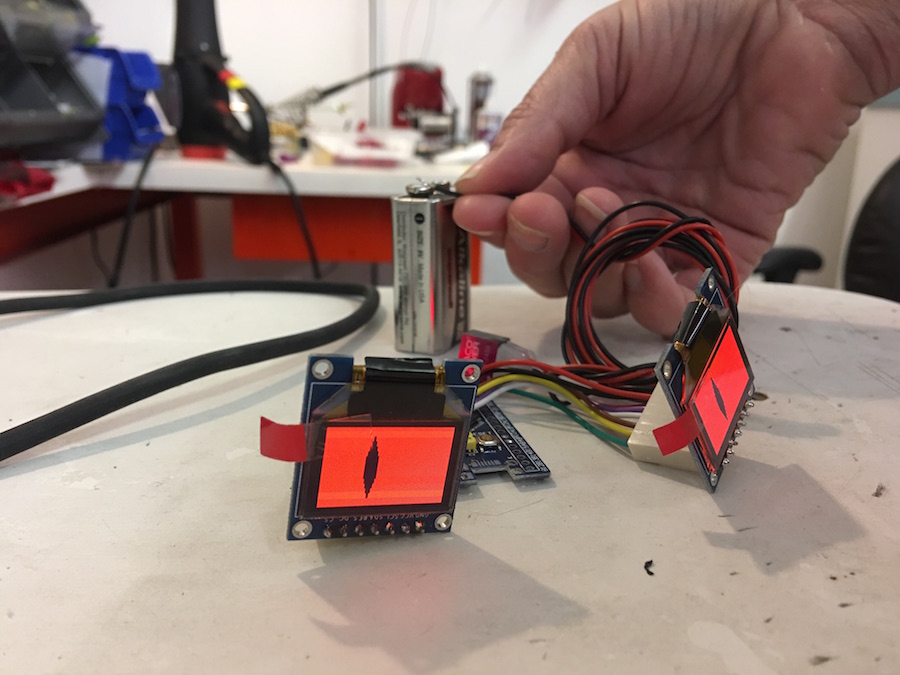
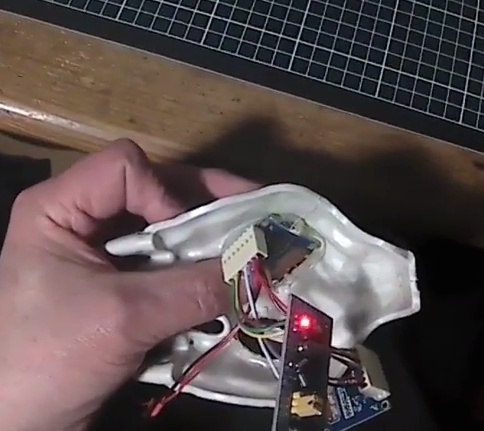
- Remove protective film from front of screen (use red tab to pull off coating). With power still attached, carefully place screen inside skull so that connector on board is closest to the mouth of the skull (controller board will be toward the back of the skull).
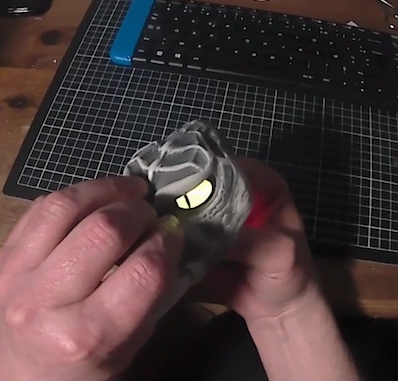
- Hold one screen inside eyeglass and turn skull over to ensure screen is properly aligned. Make sure that you cannot see the edge of the screen from front of skull. Once satisfied with placement, carefully turn skull over while holding in place.
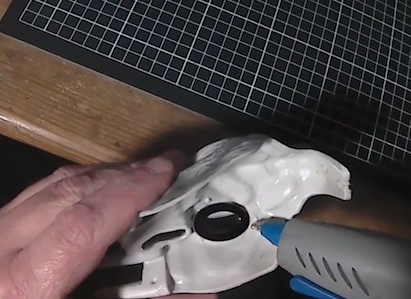
- Utilize glue gun to attach one side of the screen board. Turn skull over to ensure proper alignment and adjust as necessary before glue sets.
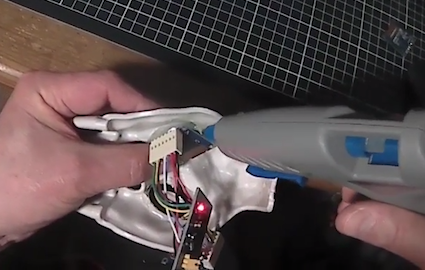
- Continue gluing along the bottom edge and front edge of the screen board. Allow glue to dry completely before proceeding to next step.
- Repeat process with second screen. Allowing glue to dry completely.
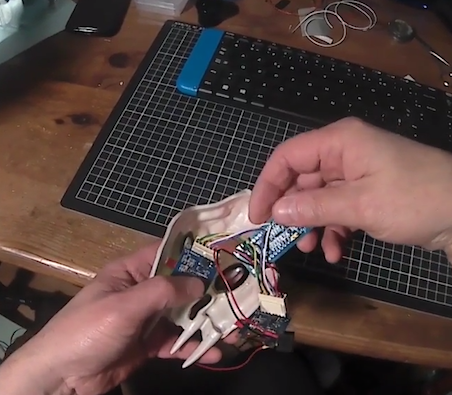
- Place controller board on back of skull with controller facing toward inside of skull. Utilize electrical tape or similar grade tape to attach the board to the skull.
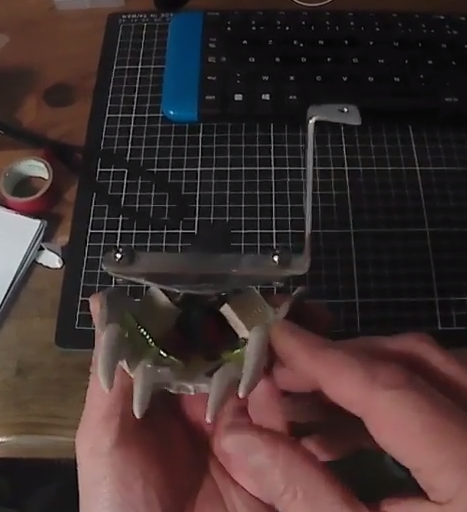
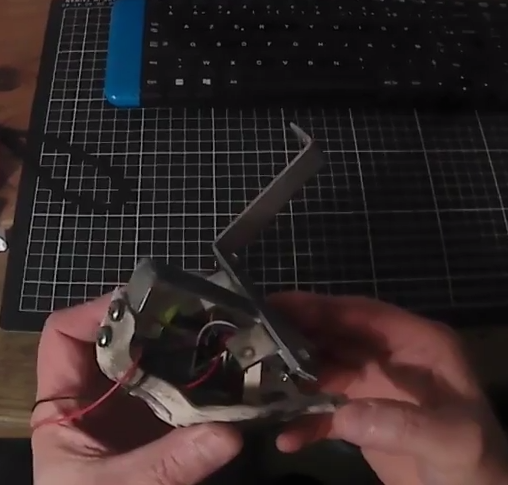
- Reattach skull bracket as shown.
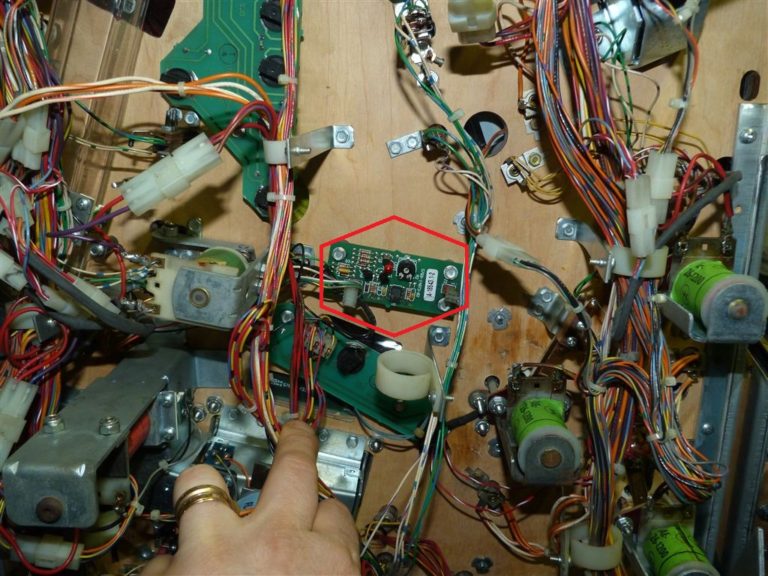
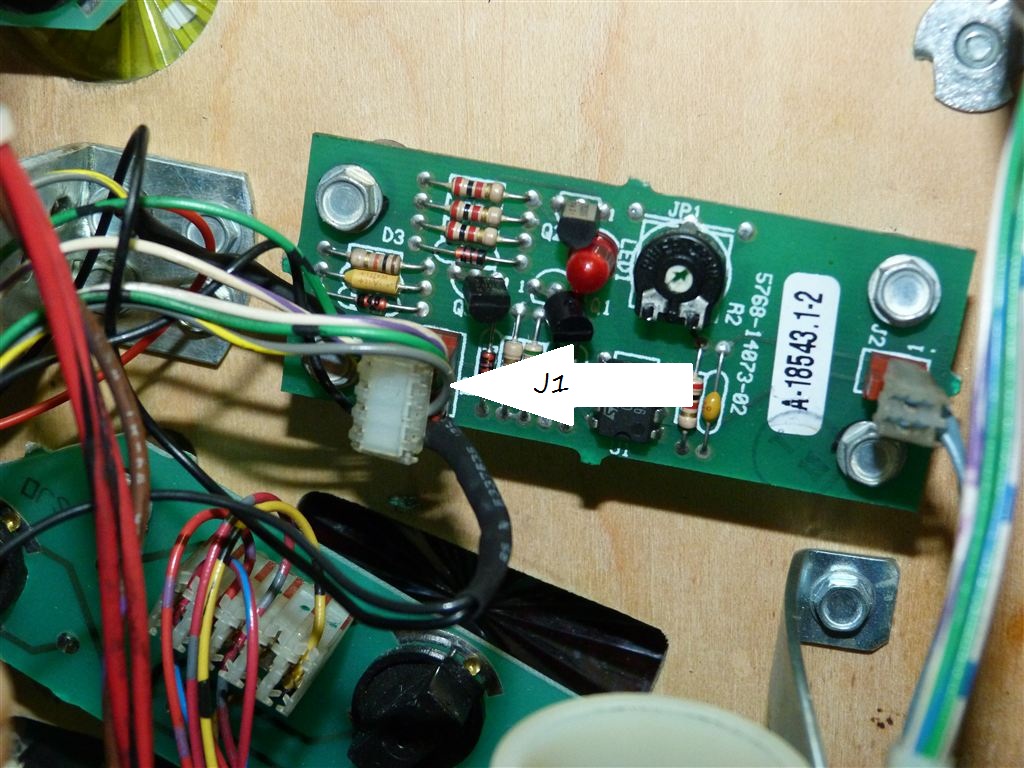
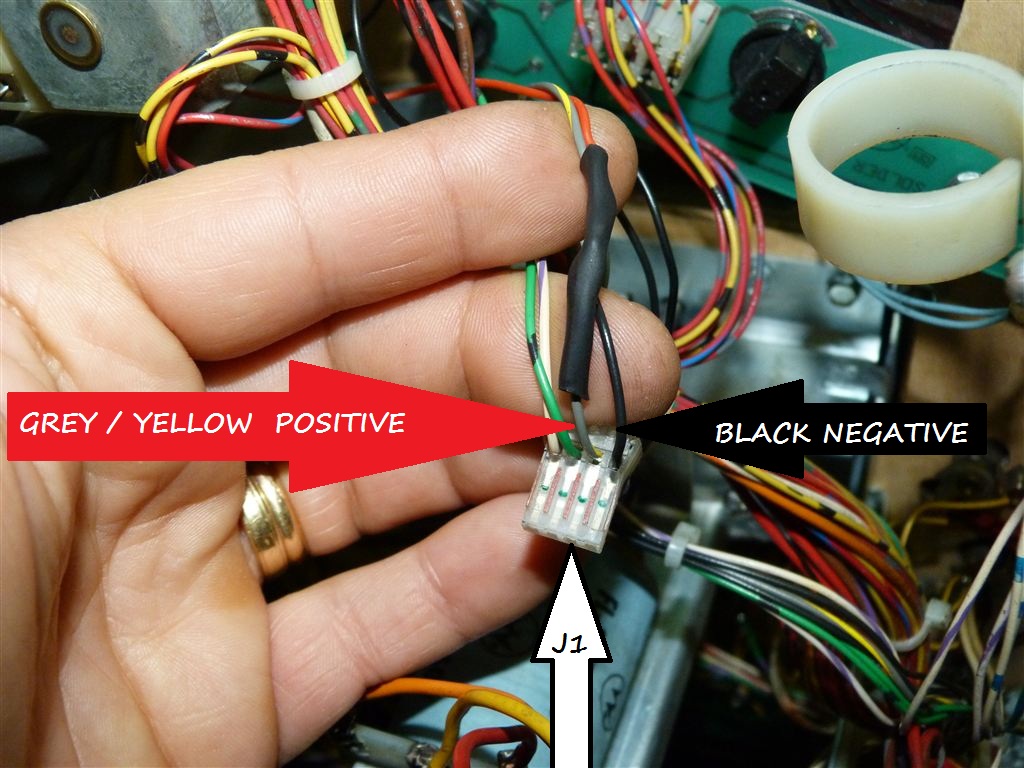
- Electrical
Comments
0 comments
Please sign in to leave a comment.