


DANGER ELECTRICAL SHOCK
Pinball machines have high voltages which can cause DANGER TO LIFE AND LIMB. TURN POWER OFF and UNPLUG PINBALL MACHINE prior to installation. Pinball machines are high voltage and can cause electrical shock.
SAFETY GLASSES are also recommended while working with or installing pinball parts.
Please follow these safety instructions as well as all installation instructions. Failure to follow these instructions may result in damage to the pinball machine, accessory or other parts. Please see our Disclaimer for associated risks and responsibilities (Section 13 in our Terms of Service) prior to installation.
Images included in these instructions are of an installed prototype and may vary from your product slightly.
If you have questions or concerns regarding the proper installation of this part, please contact us for assistance.
NOTE: This product requires the replacement of one of your stock GI bulbs with a frosted white dome bulb. For best results, we recommend selecting a replacement location that is hidden below a playfield plastic. If you prefer not to utilize the replacement bulb, a set of alligator clips can be utilized instead. Please note that alligator clips are not intended for permanent connections and can come loose potentially causing shorts.
Scoop illumination can only be installed on 6v sources; 12v sources will cause the board to be blown. Utilize General Illumination sources or consult your games manual to find alternative 6v sources.
- Power off the game. Remove glass and pinballs. Lift the playfield.
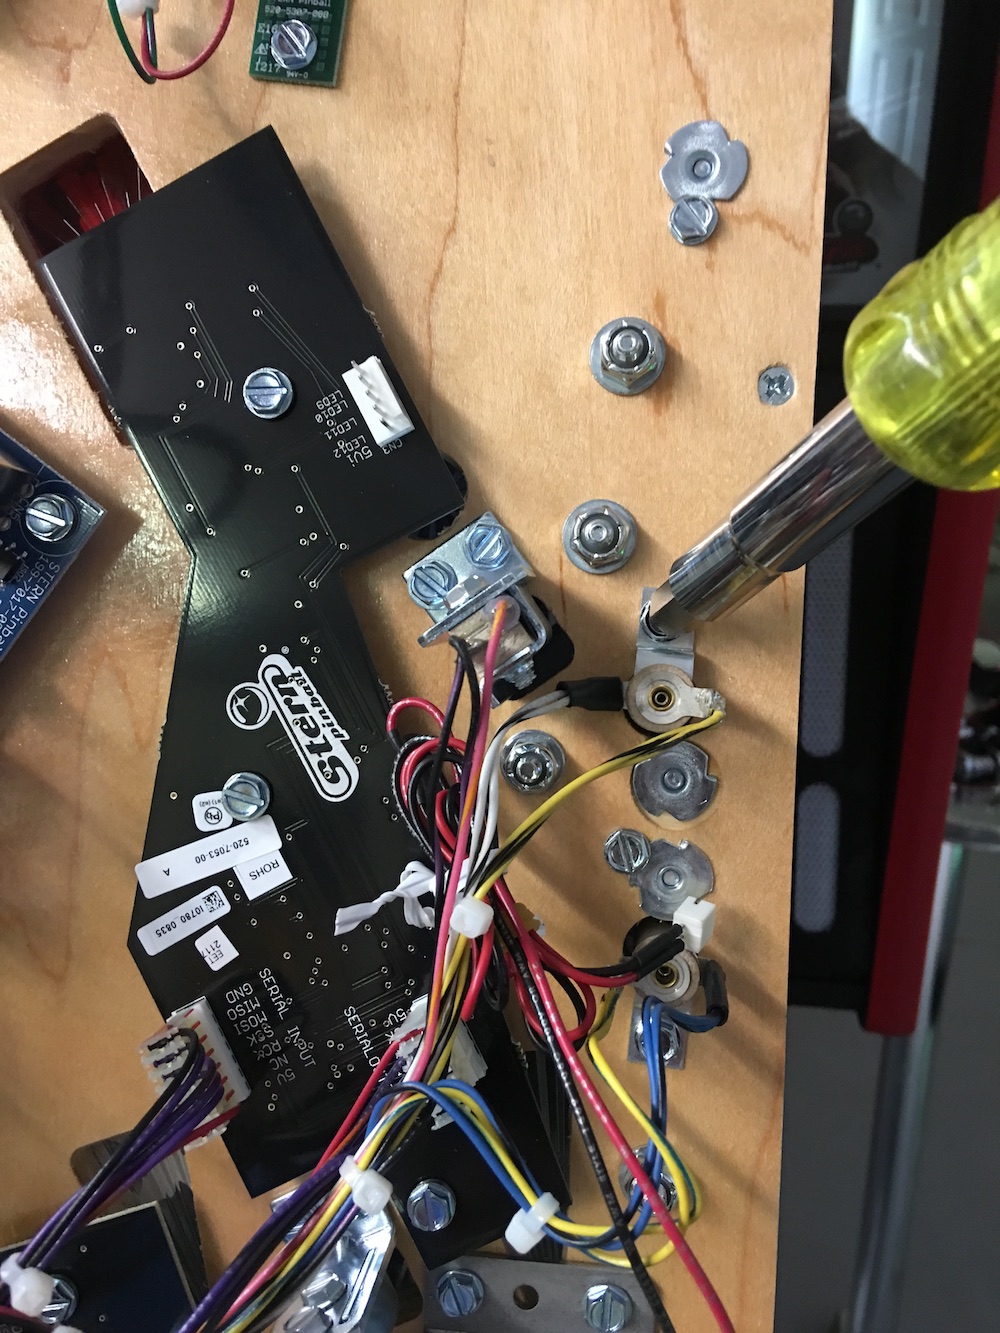
- For chair scoop: Locate the chair scoop or vertical upkick (VUK) mechanism.
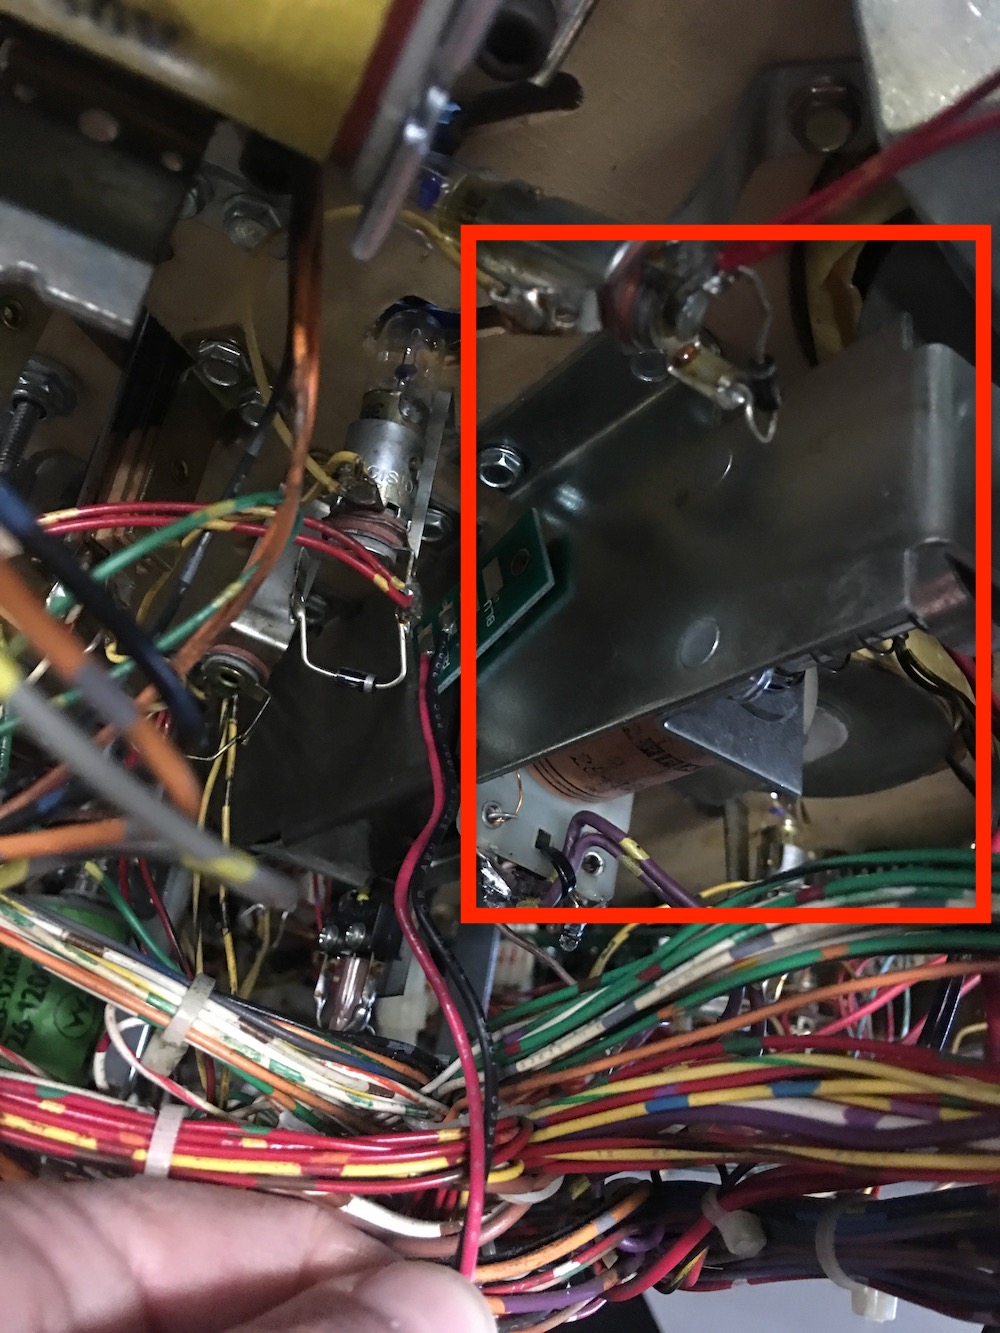
- Attach the LED as show below so it shines into the scoop. Note: your LED board may look slightly different from the one featured in this photo.
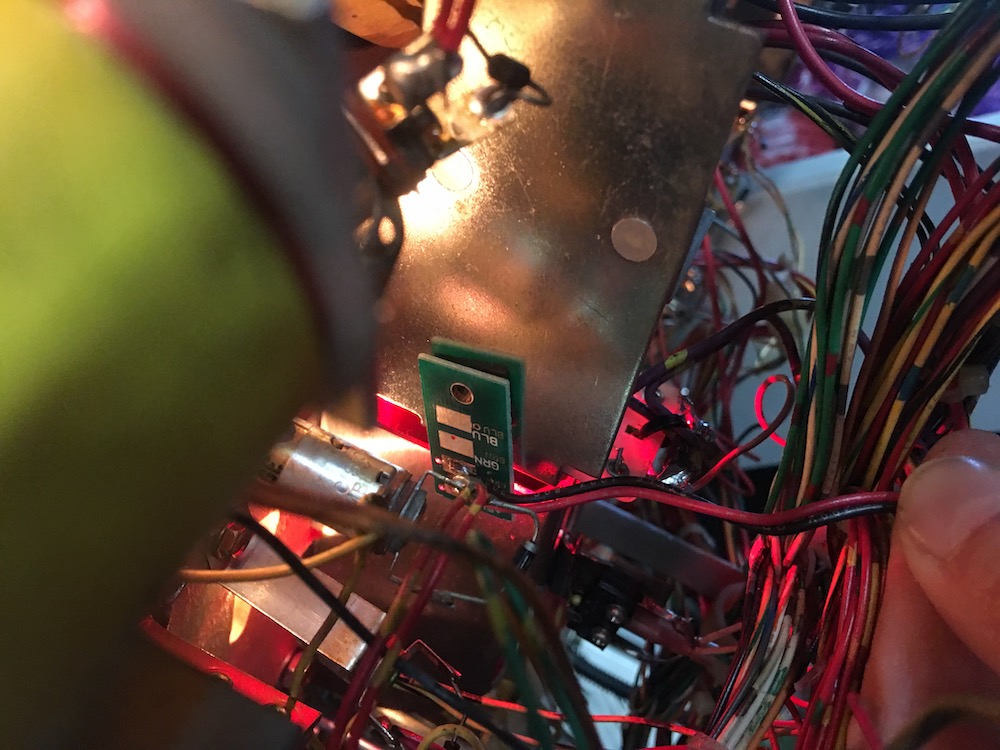
- For Swamp scoop: Locate the Swamp scoop mechanism/VUK as shown.
- Attach the LED board to the outside left of the scoop hole such that the LED shines into the scoop.
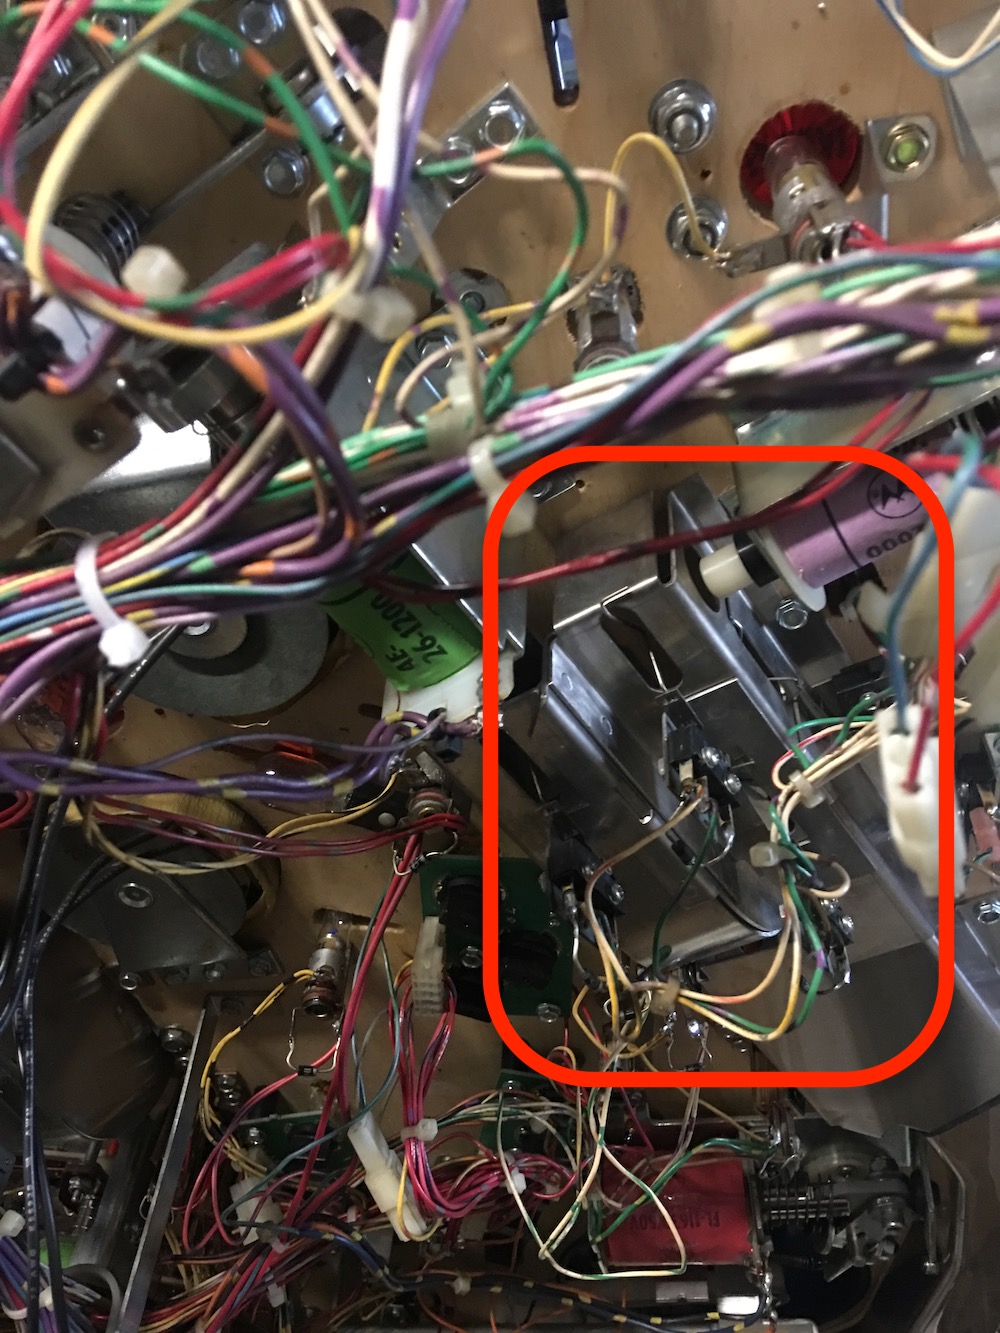
- Locate a GI bulb in your game that is located under a playfield plastic (please see our NOTE above if you prefer not to replace the bulb and instead prefer to utilize alligator clips). The GI bayonet is a barrel shaped bulb holder that is mounted flush to the underside of the playfield such that the bulb protrudes through the top of the playfield. This photo is an example of what the bayonet looks like from under the playfield.

- Remove the desired GI bayonet using a hex driver and replace with the Matrix bulb provided with the product. Adjust frosted dome of bulb so it is close to the top of the bayonet. Reattach bayonet to playfied ensuring connector is accessible from bottom of playfield.
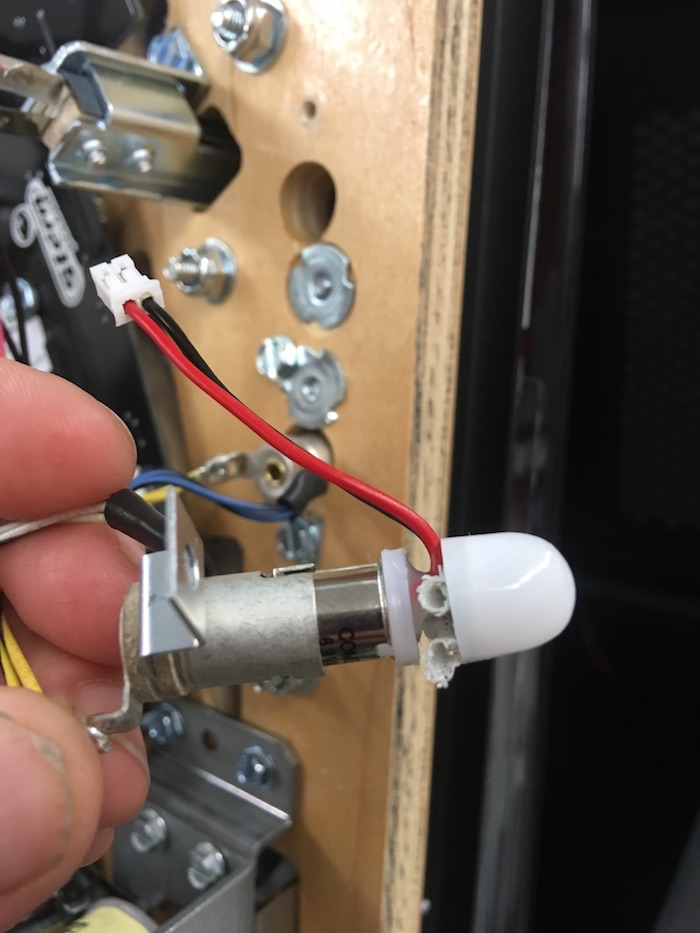
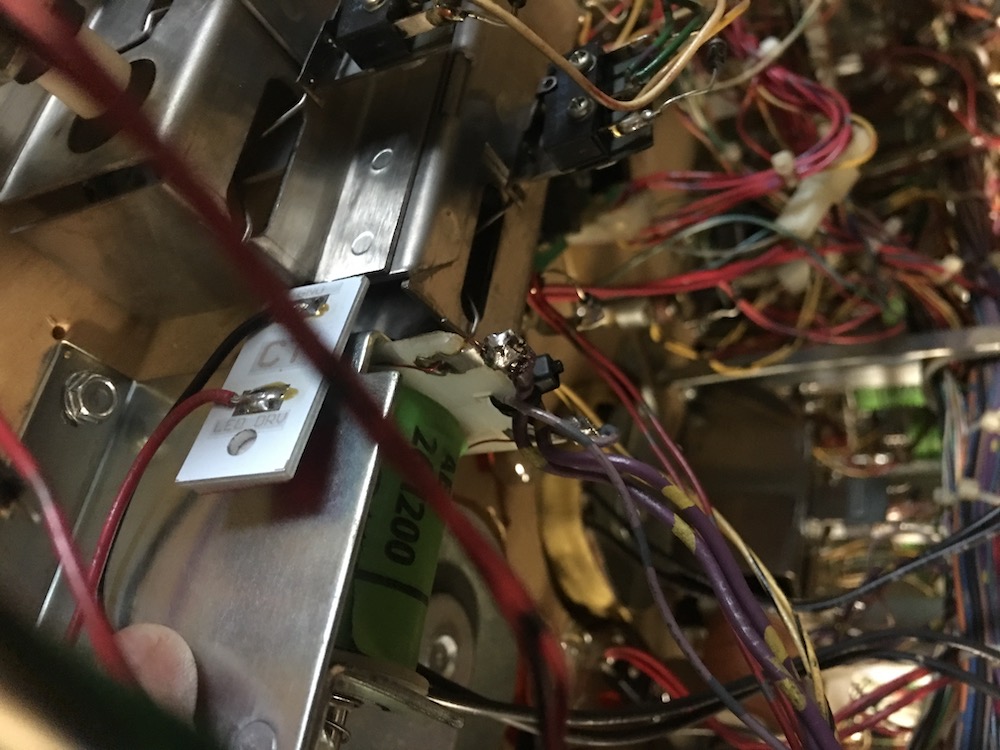
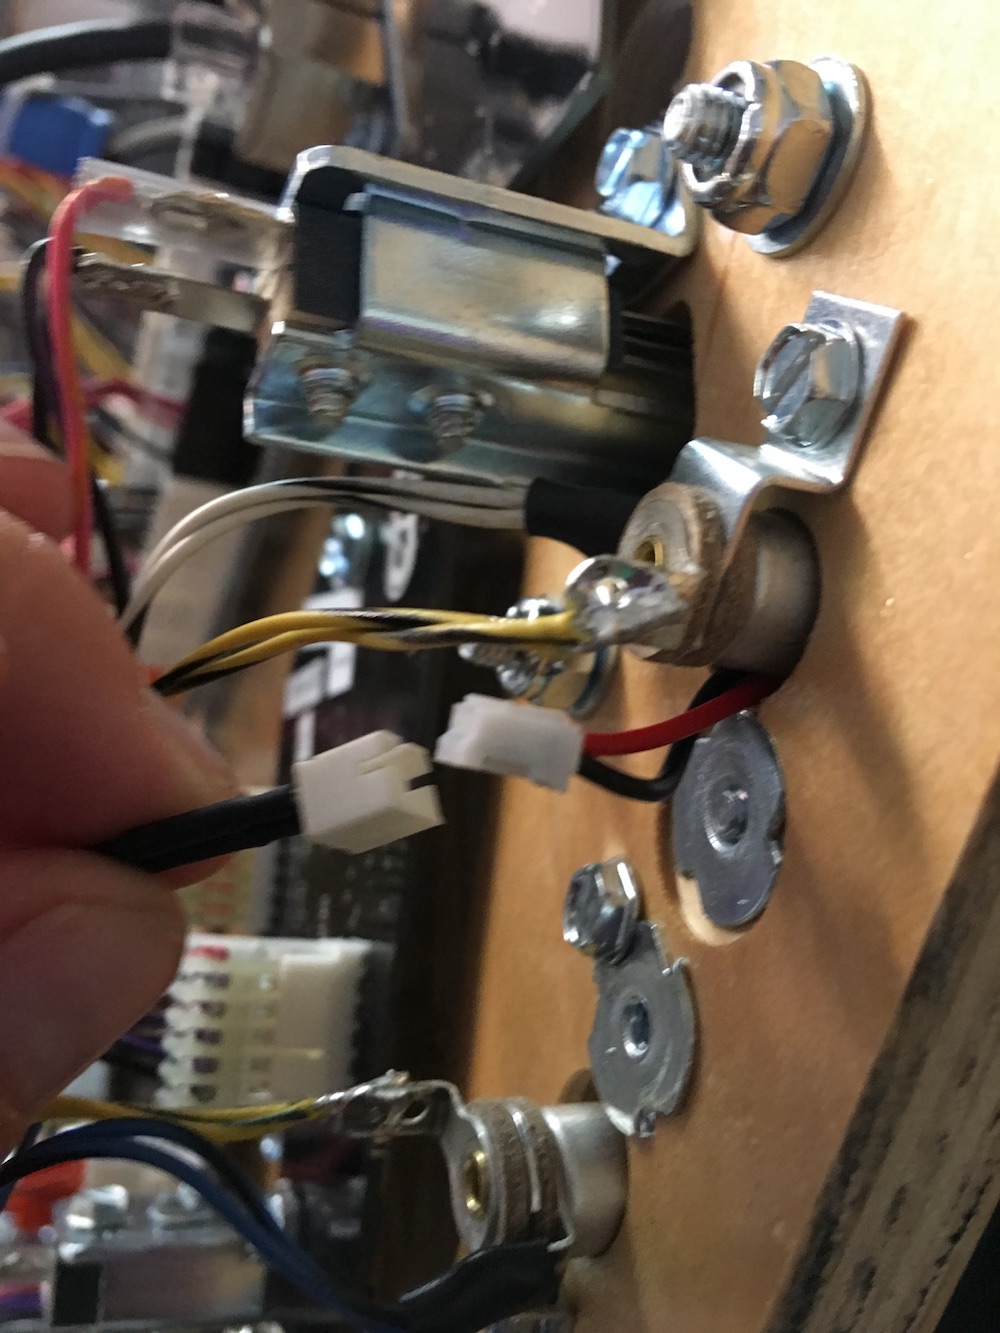
- Attach Matrix bulb connector to LED connector as shown.
- Lower playfield and turn on game to test functionality and ensure proper illumination. Adjust as necessary.
- Installation is complete!
Comments
0 comments
Please sign in to leave a comment.