

DANGER ELECTRICAL SHOCK
Pinball machines have high voltages which can cause DANGER TO LIFE AND LIMB. TURN POWER OFF and UNPLUG PINBALL MACHINE prior to installation. Pinball machines are high voltage and can cause electrical shock.
SAFETY GLASSES are also recommended while working with or installing pinball parts.
Please follow these safety instructions as well as all installation instructions. Failure to follow these instructions may result in damage to the pinball machine, accessory or other parts. Please see our Disclaimer for associated risks and responsibilities (Section 13 in our Terms of Service) prior to installation.
Images included in these instructions are of an installed prototype and may vary from your product slightly.
If you have questions or concerns regarding the proper installation of this part, please contact us for assistance.
When removing screws from the playfield, reinstall by first turning them counter-clockwise to match the original groove in order to respect the integrity of the playfield wood.
NOTE: This installation manual covers installation of the Mutagen flasher replacement on the Left orbit flasher. This process is nearly identical to the right orbit flasher except for the removal of the ball trap plastic.
Flasher Replacement
Short Version: remove the two screws affixing the dome flasher. Remove dome flasher. Place Mutagen jar where dome flasher used to be using the same two screws. (Left side only - remove screw just to the right of the flasher to make it easier to slip flasher dome out of the way).
Long Version: We've found it is easiest to perform this installation with the playfield pulled out slightly so that we can use a wrench or pair of pliers with more ease.
- Left Orbit Only: remove the three screws holding the ball trap plastic.
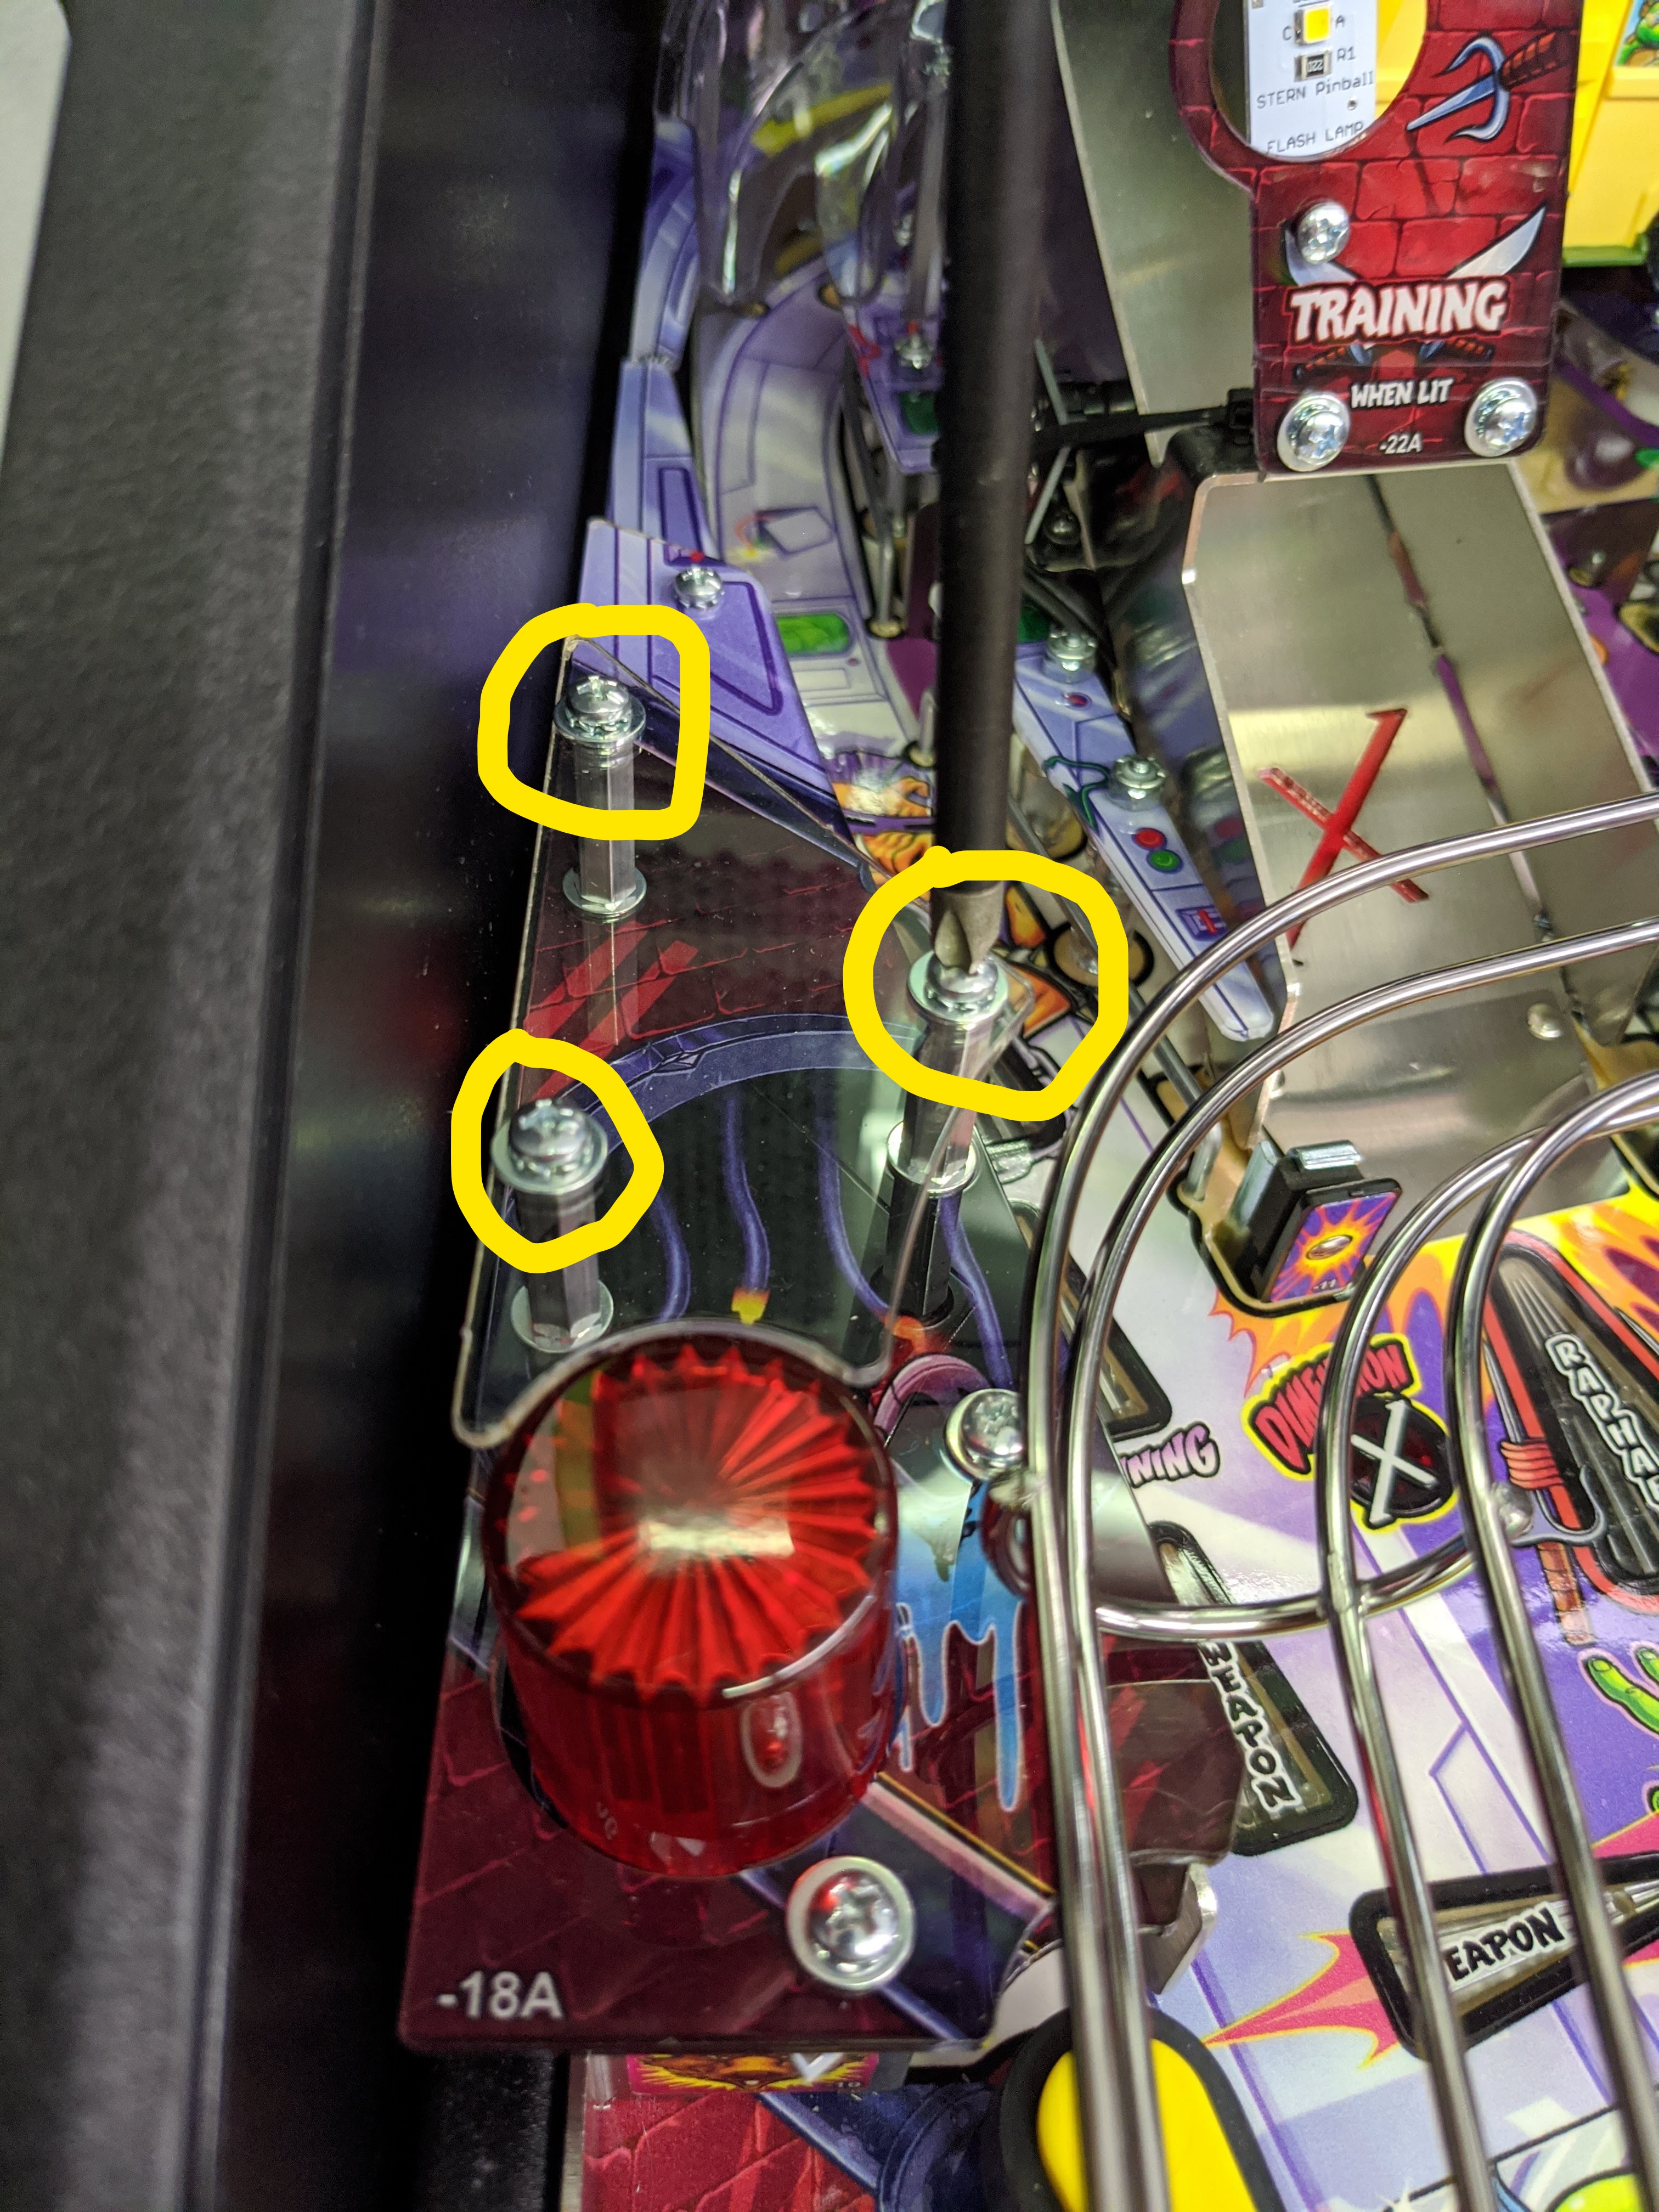
- Using either a wrench or a pair of pliers and a screw driver, remove the first screw holding the flasher dome to the plastic.
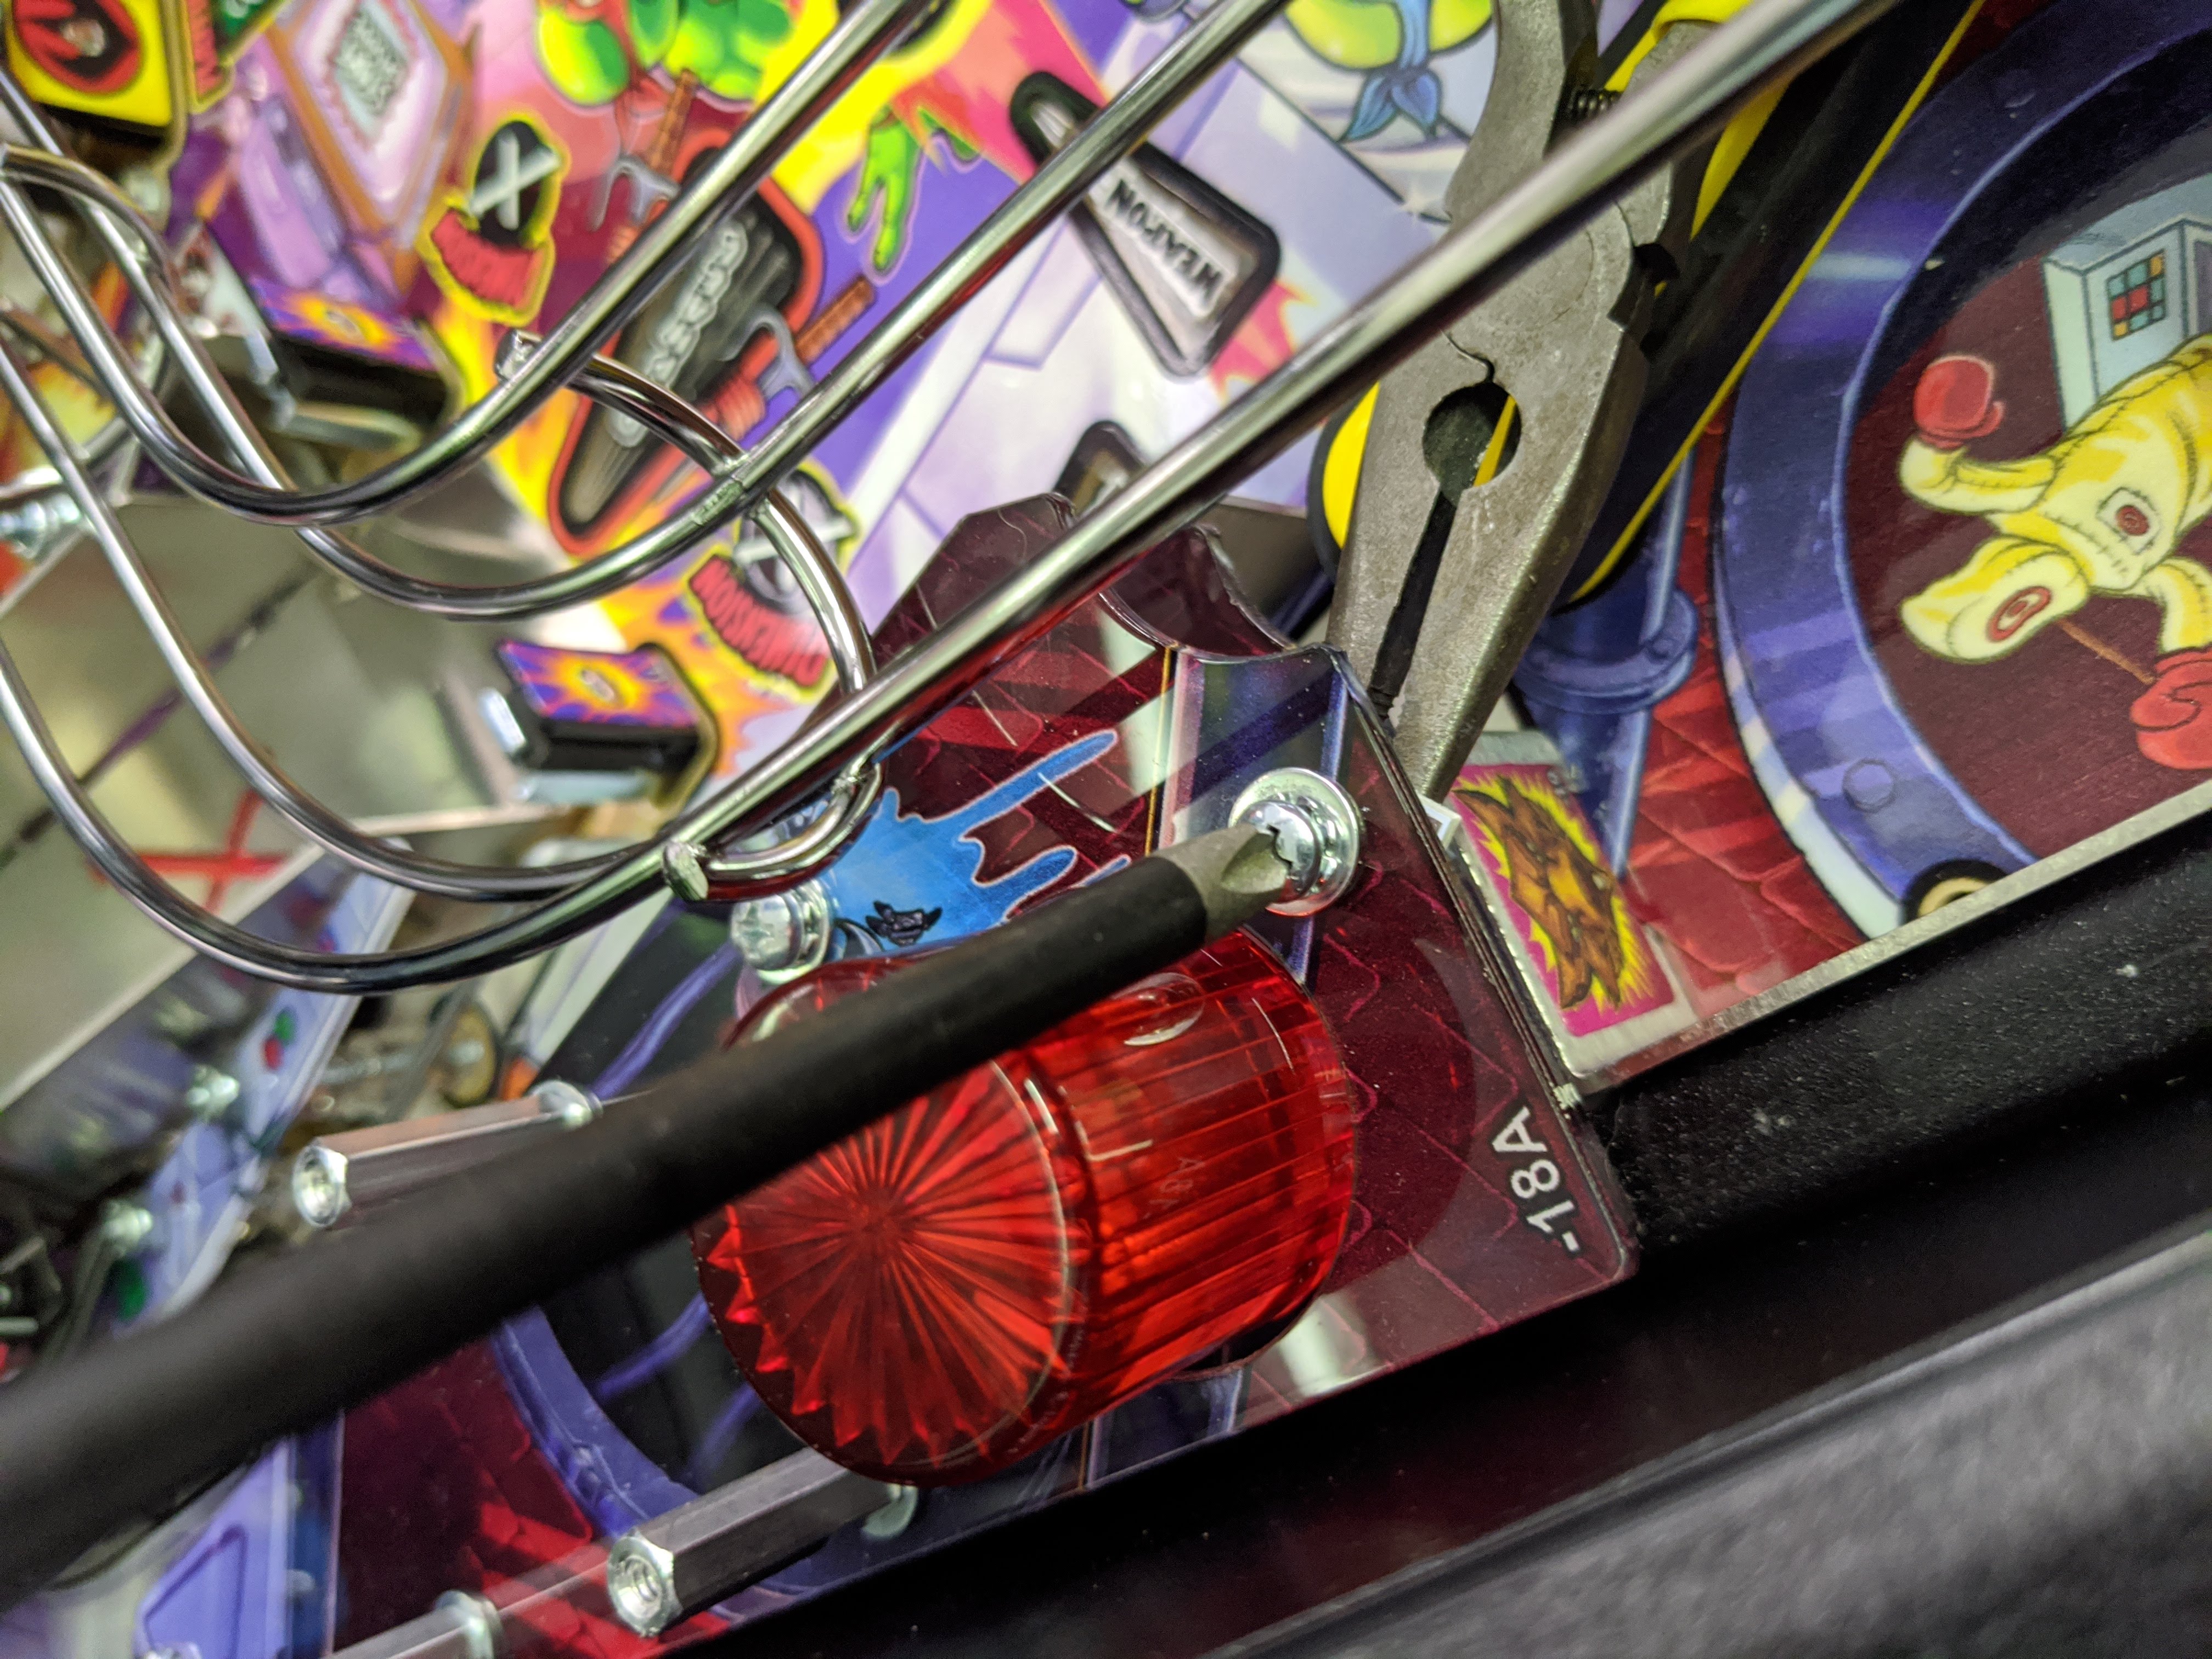
- Left Orbit Only: it is quite tricky to get to the nut underneath the plastic in the back. We've found that it is easiest to use a pair of pliers and to "reach" underneath the flasher dome to hold the nut.
- Remove the back screw holding the flasher dome onto the plastic.
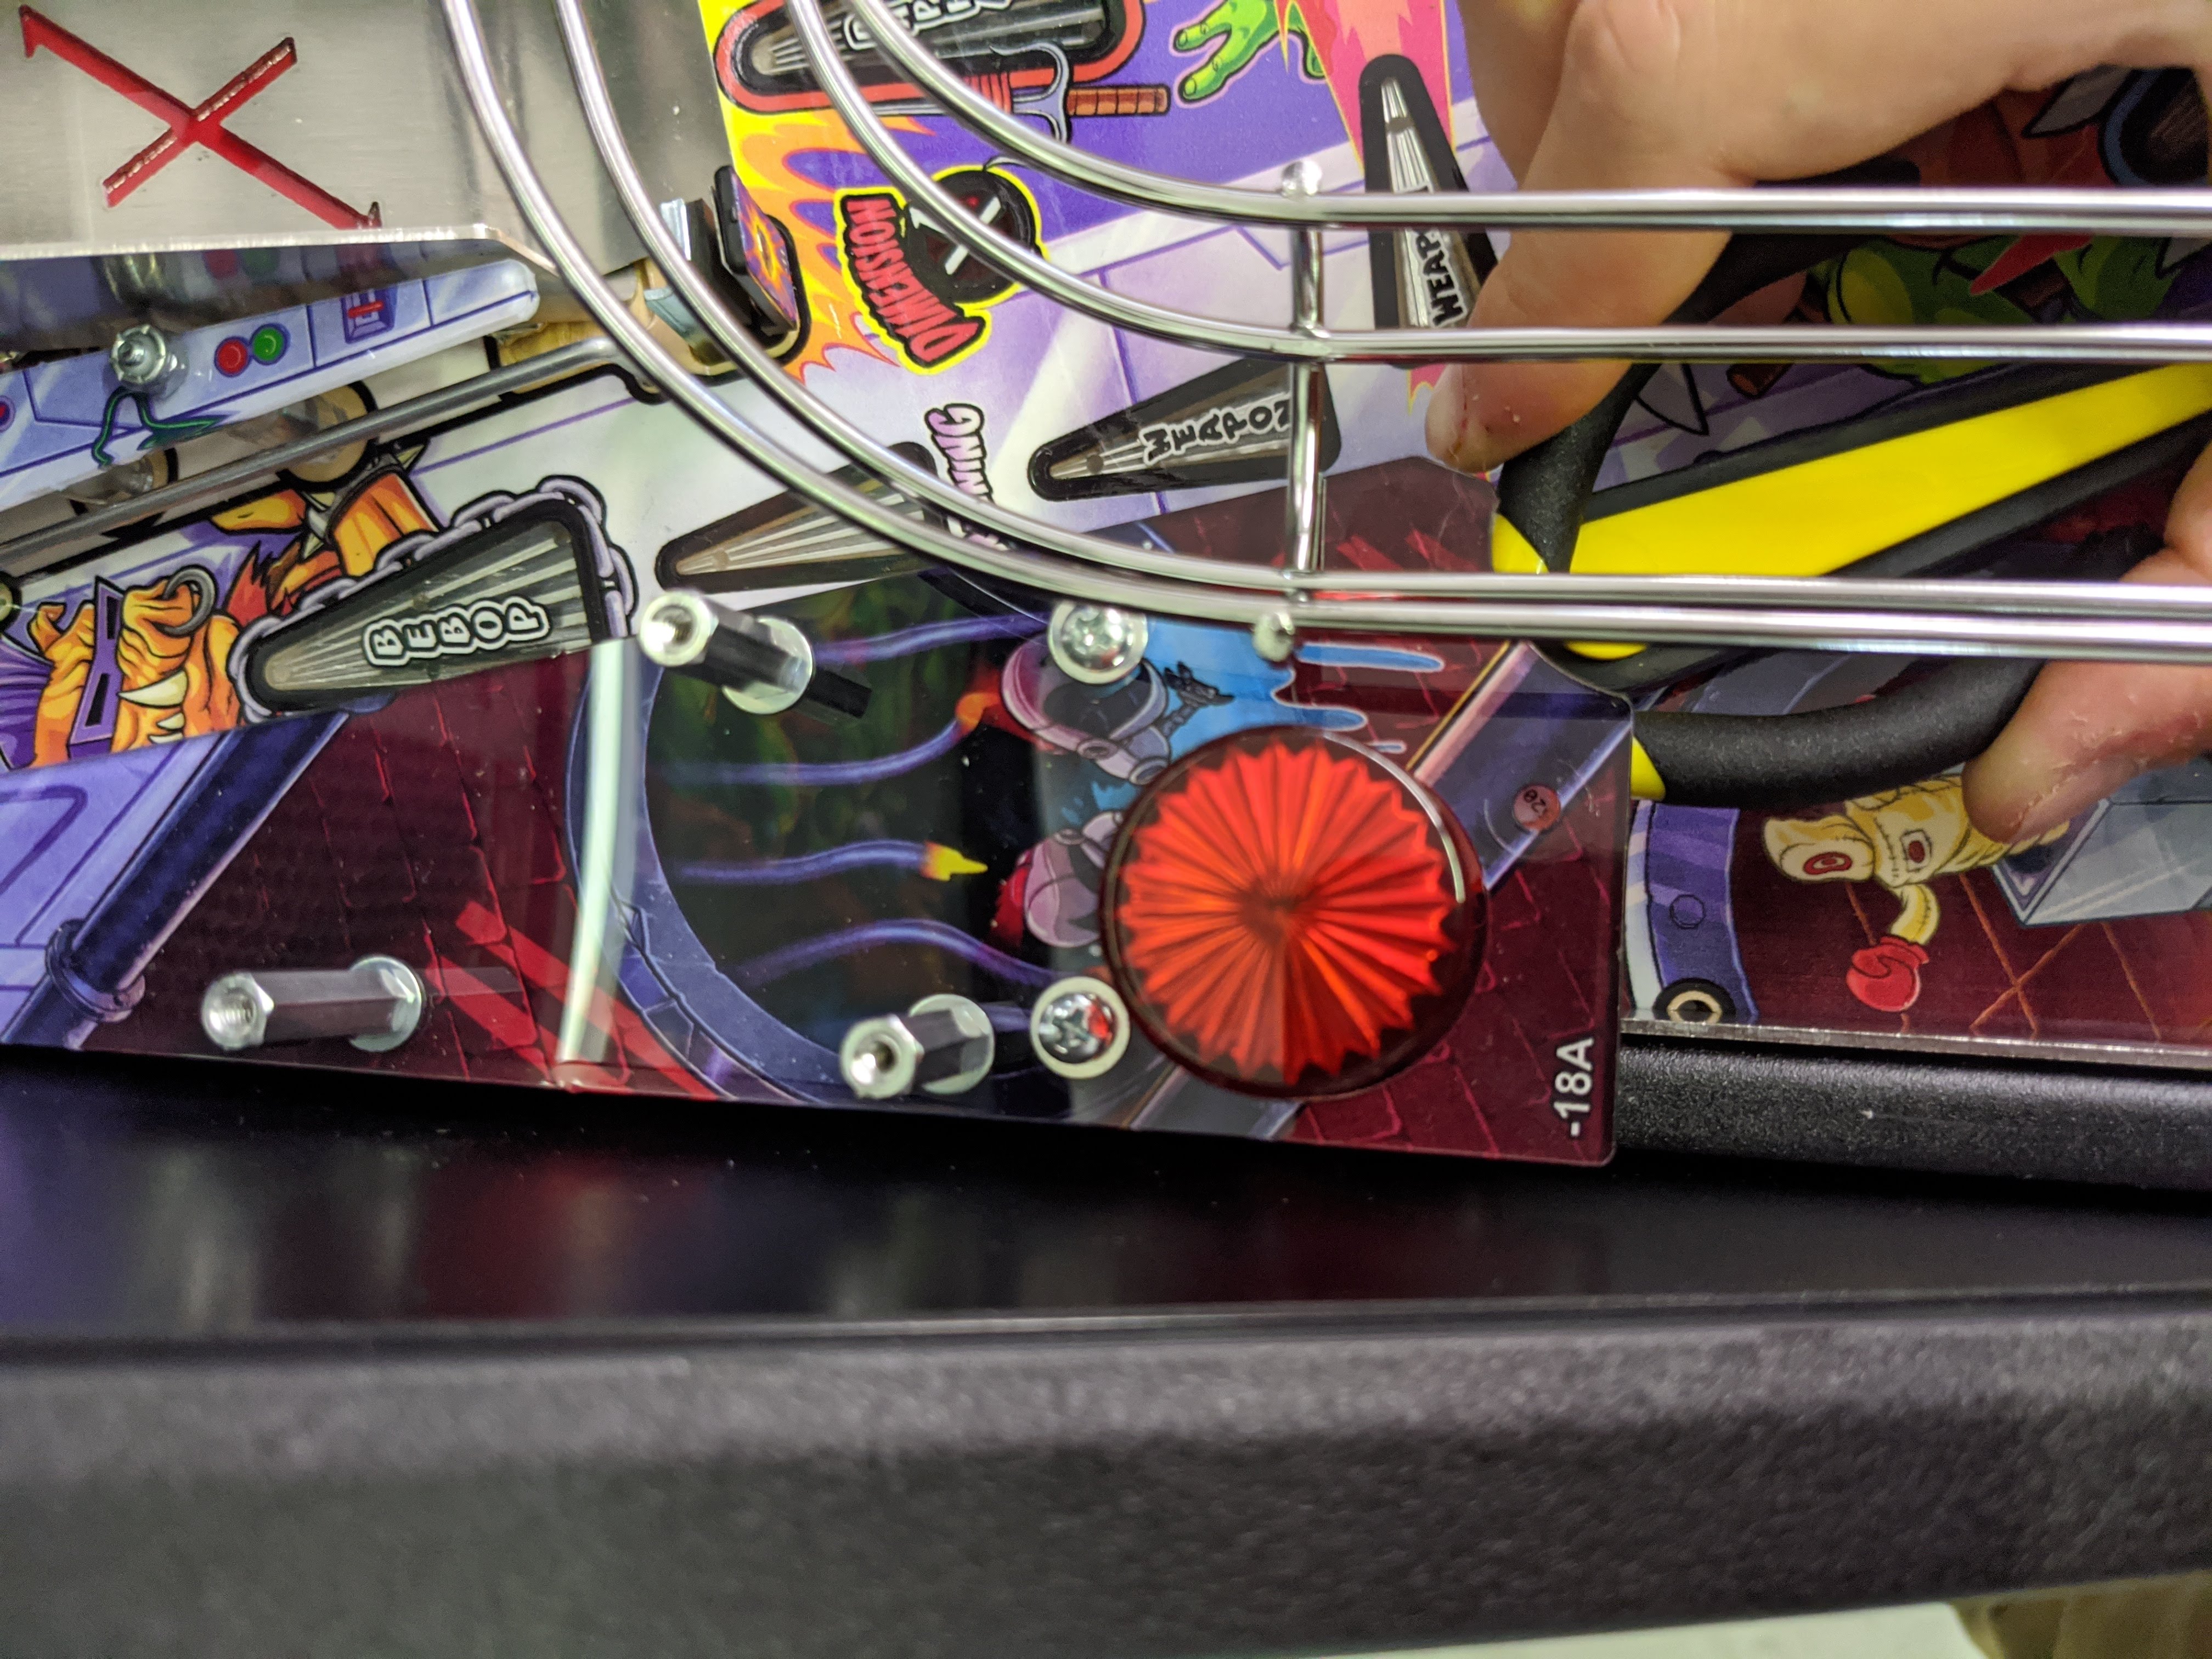
- Left Orbit Only: remove the screw just to the right of the flasher. This will provide strain relief to the plastic while we remove the dome.
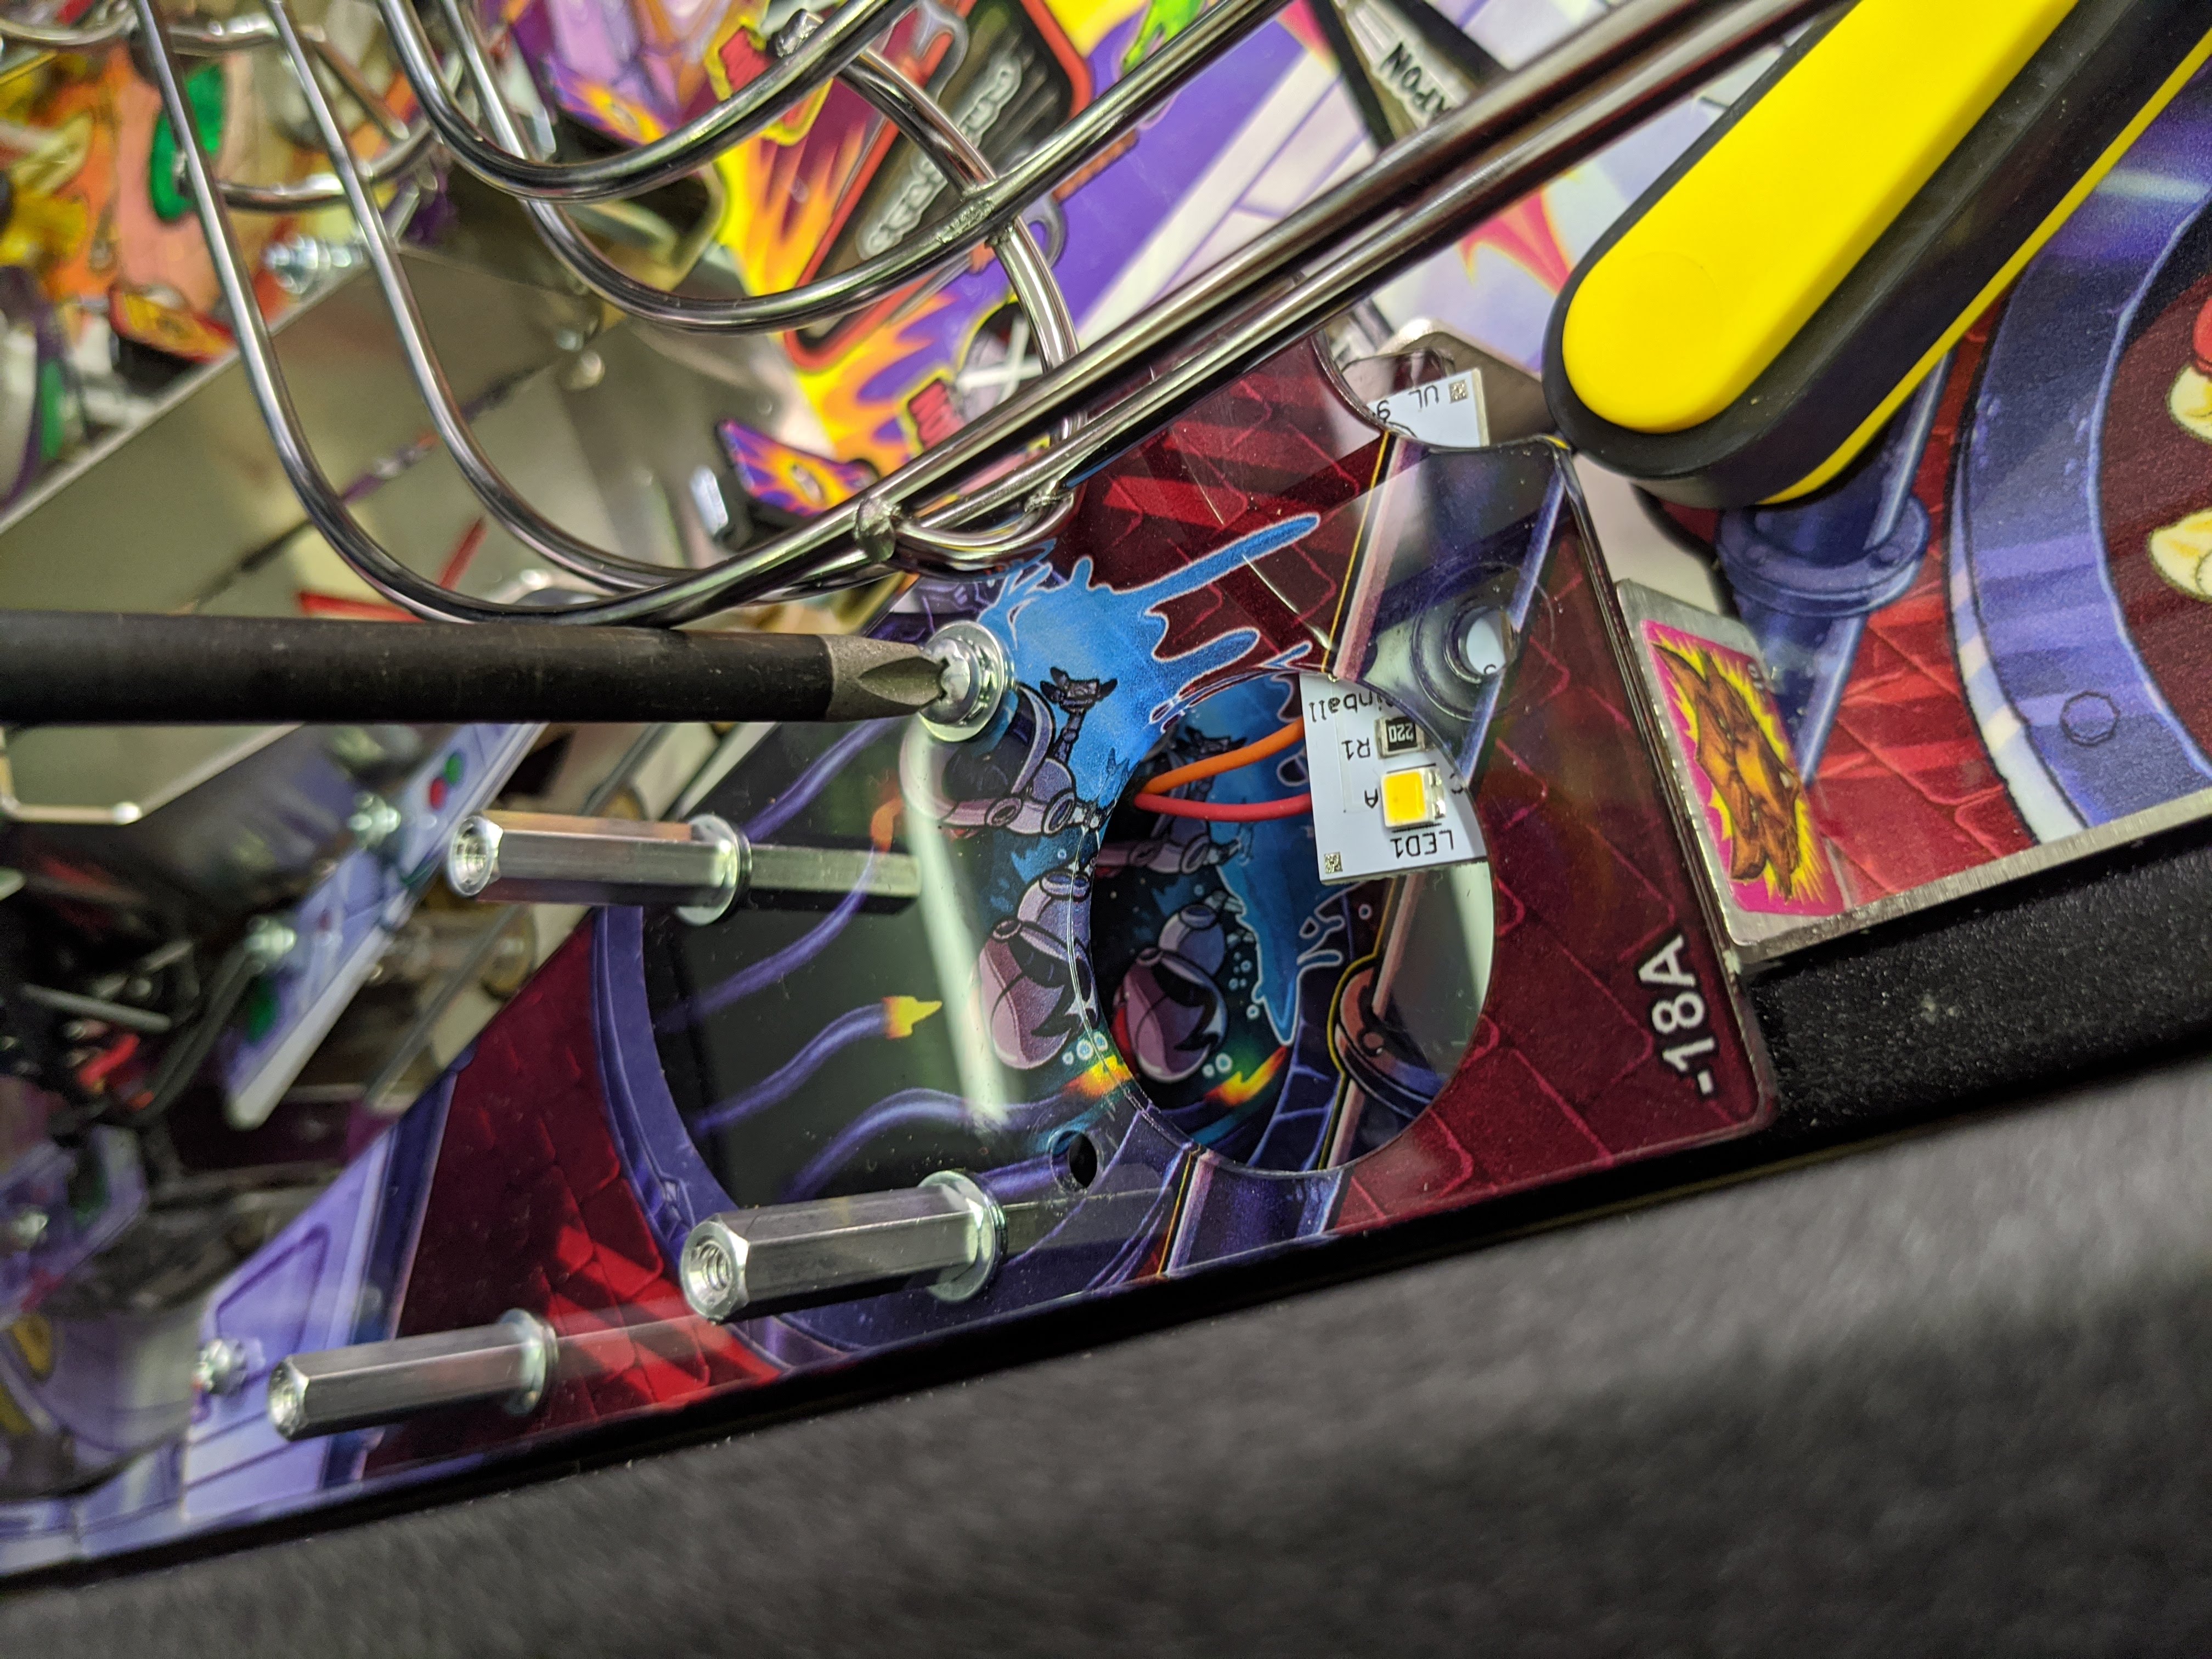
- Slip the dome underneath the plastic and out of the way.
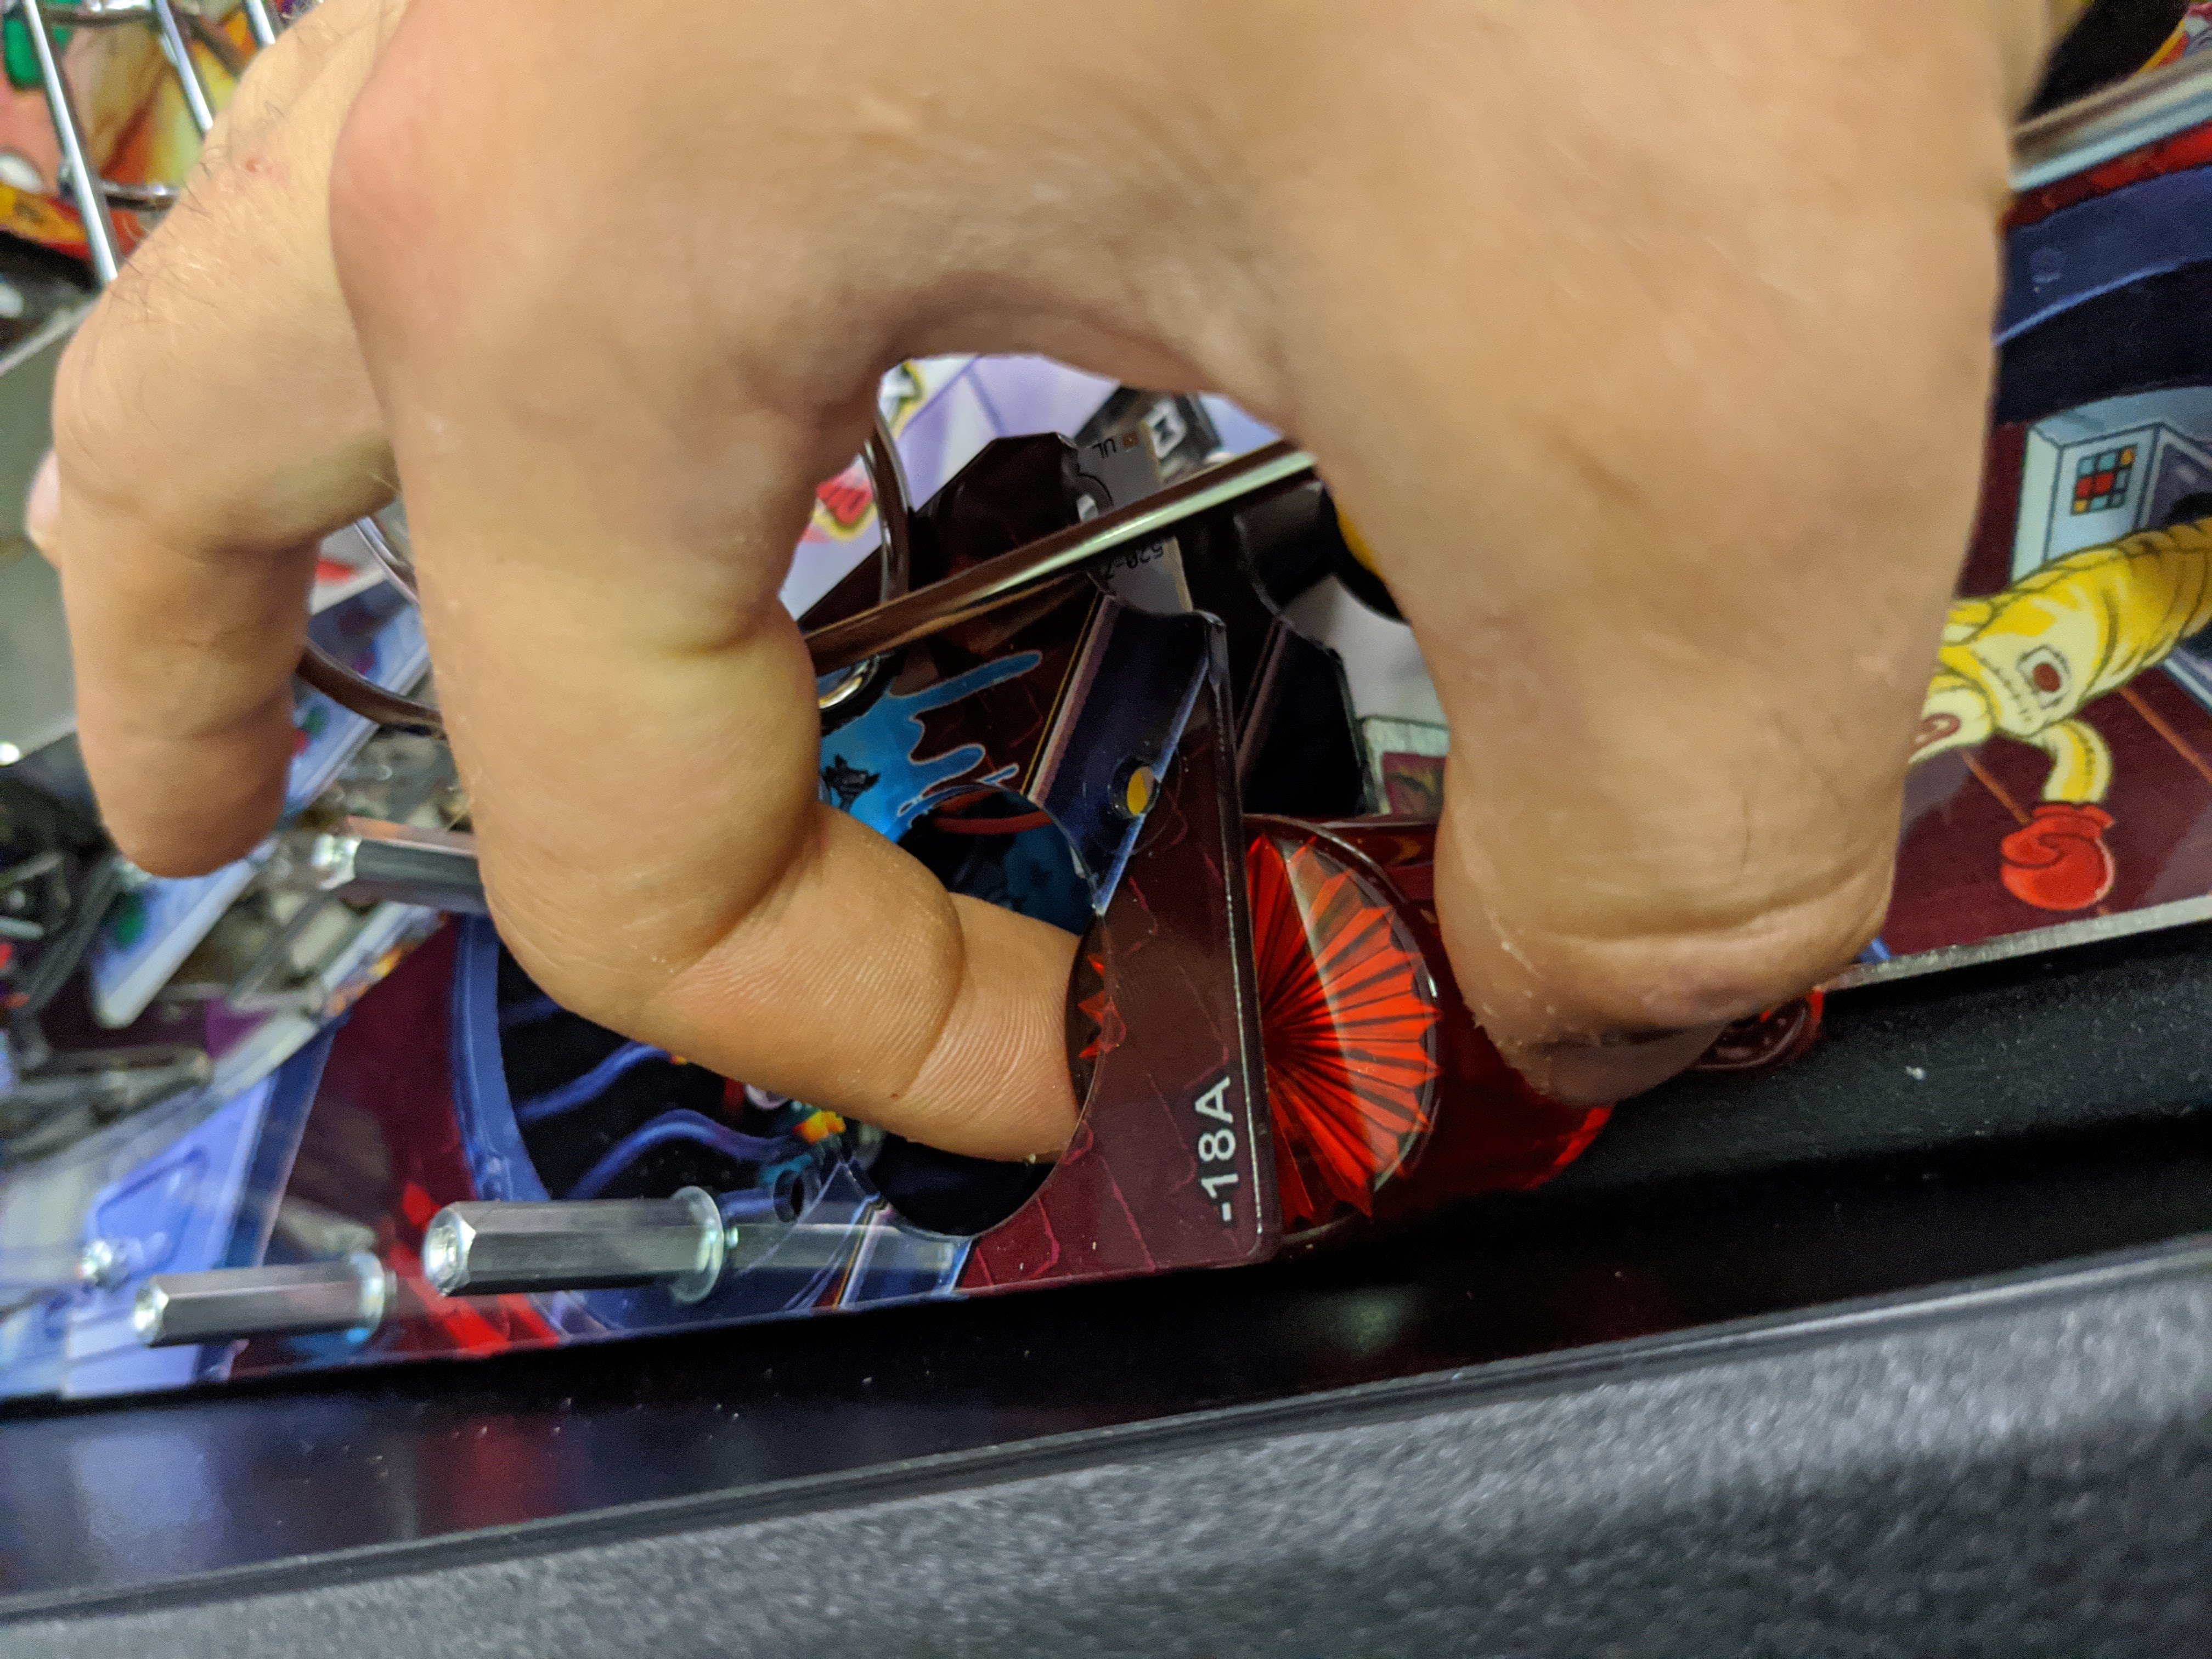
- Prep the Mutagen jar by placing the two screws holding the dome flasher cover in the mounting holes.
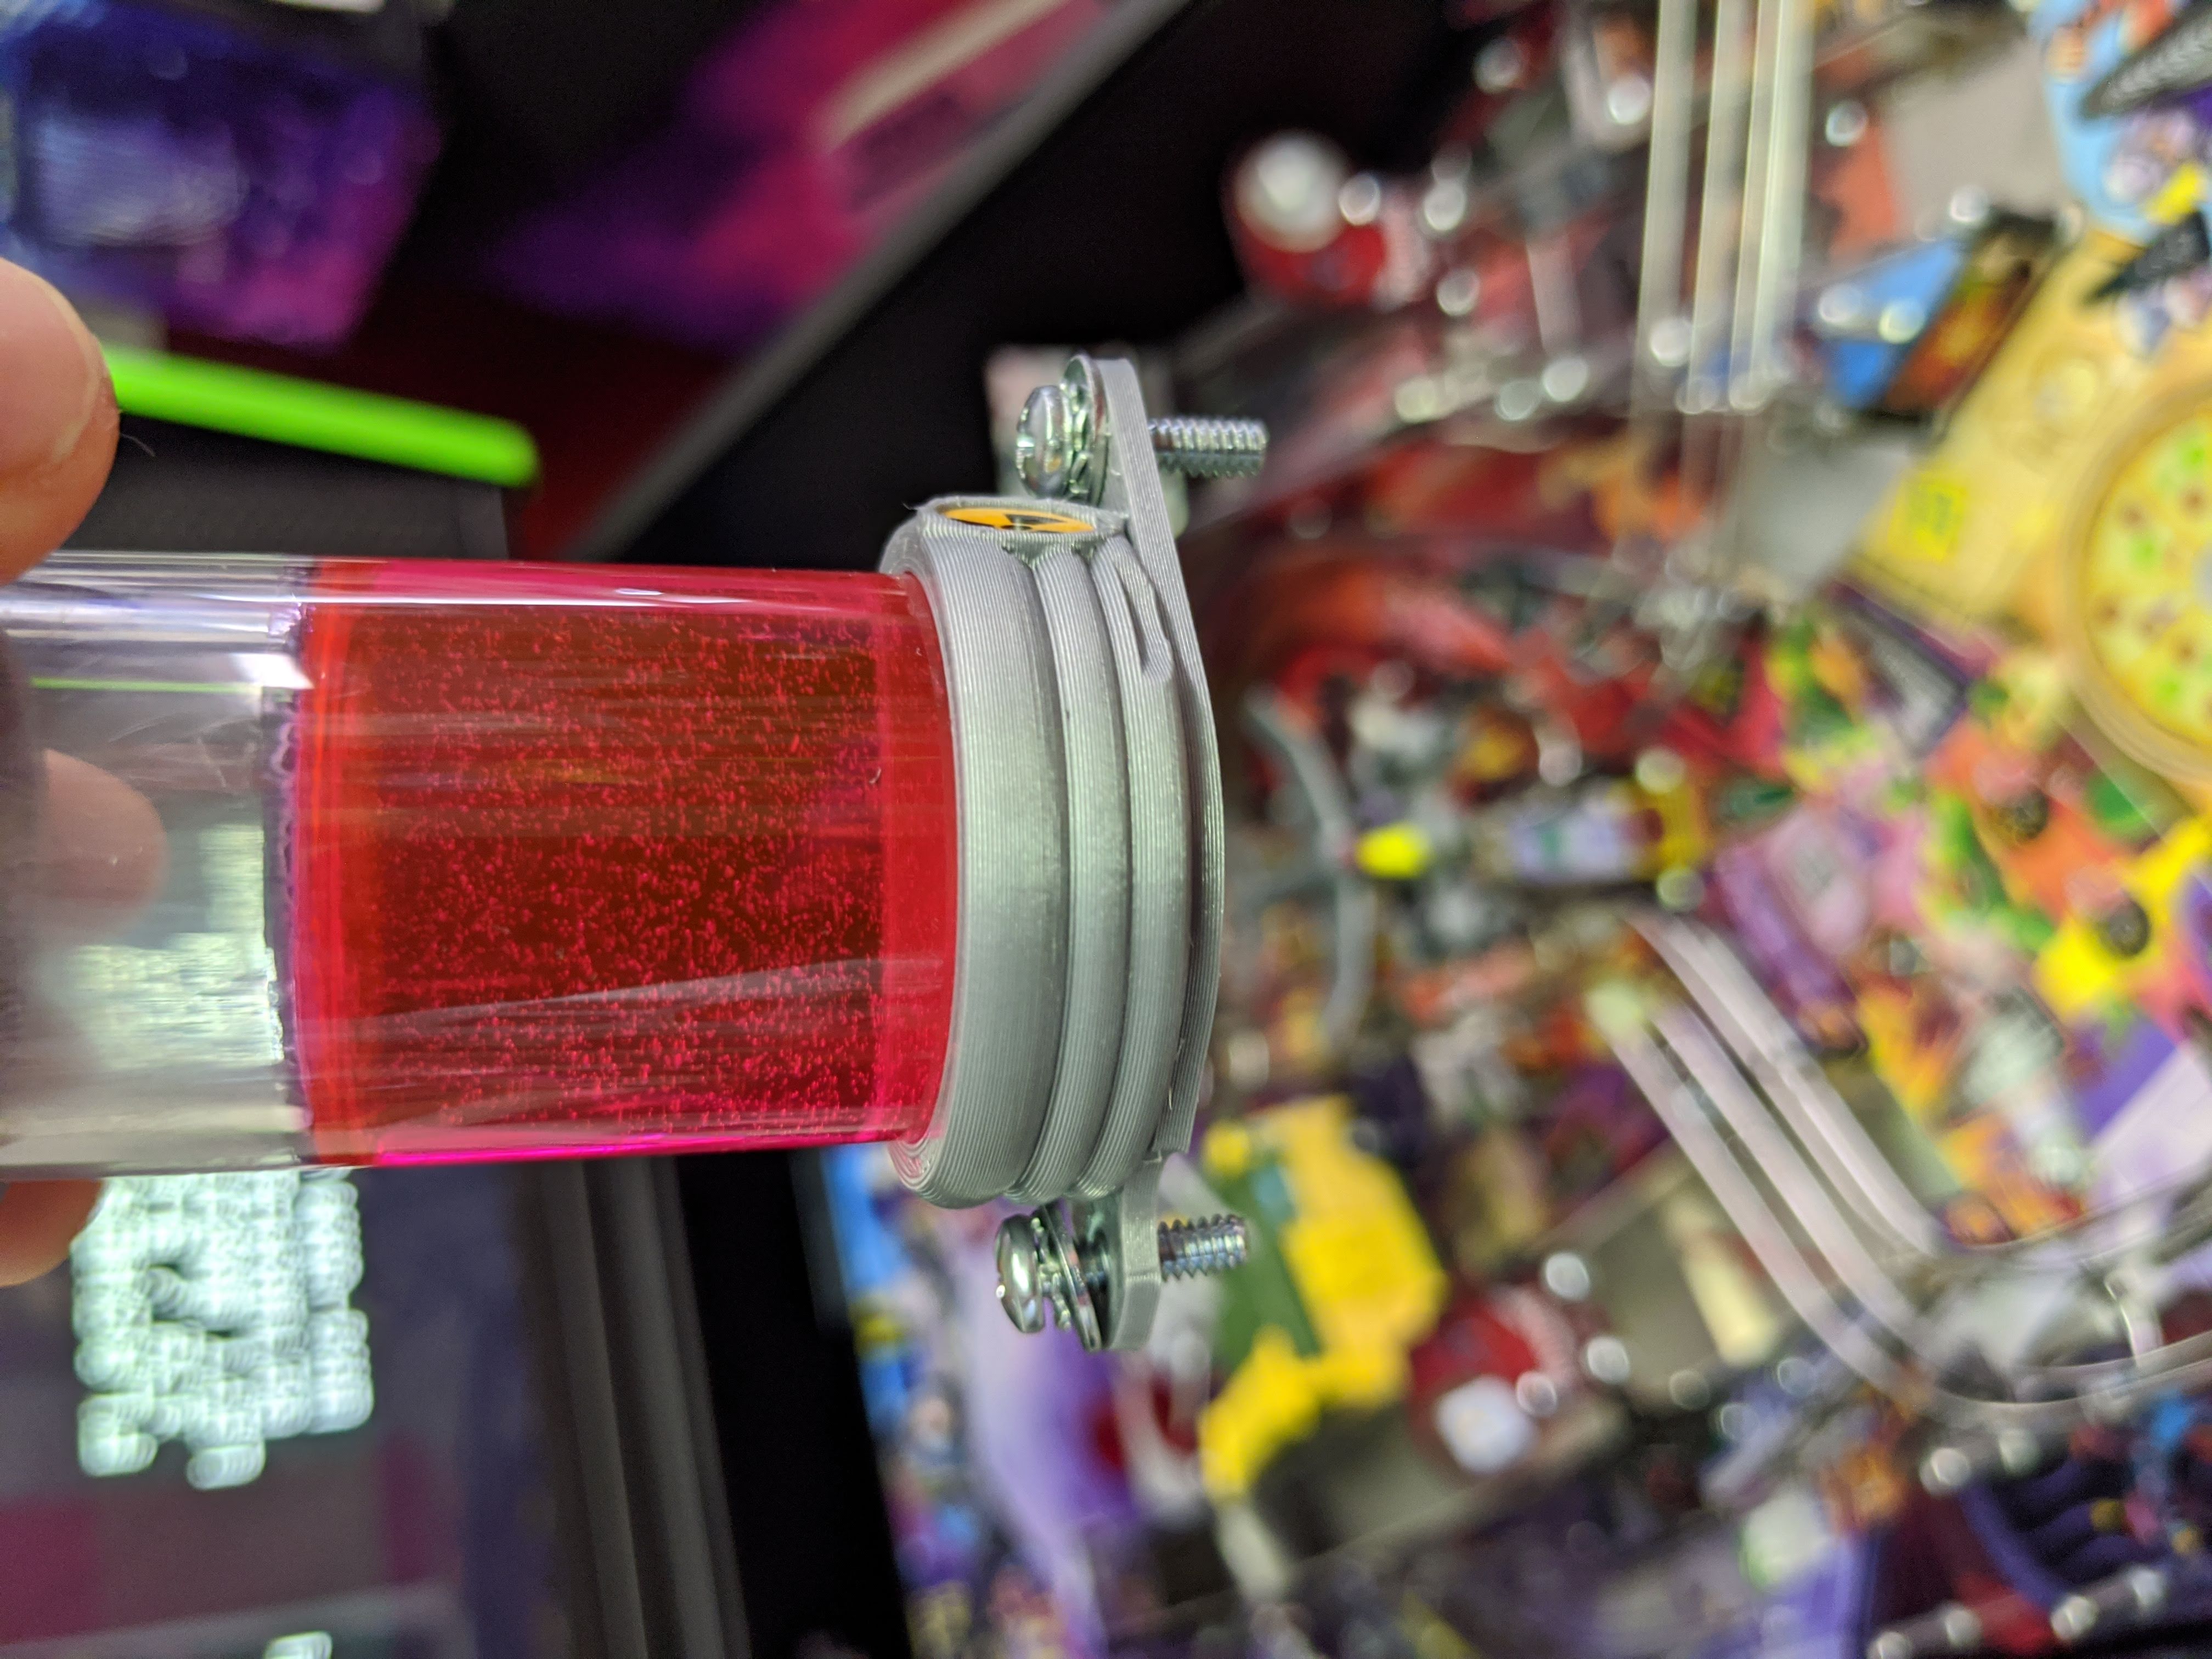
- Important: make sure that the front screw goes through the LED board hole. Otherwise the LED may be off center and you may get poor lighting results. Tighten the screw.
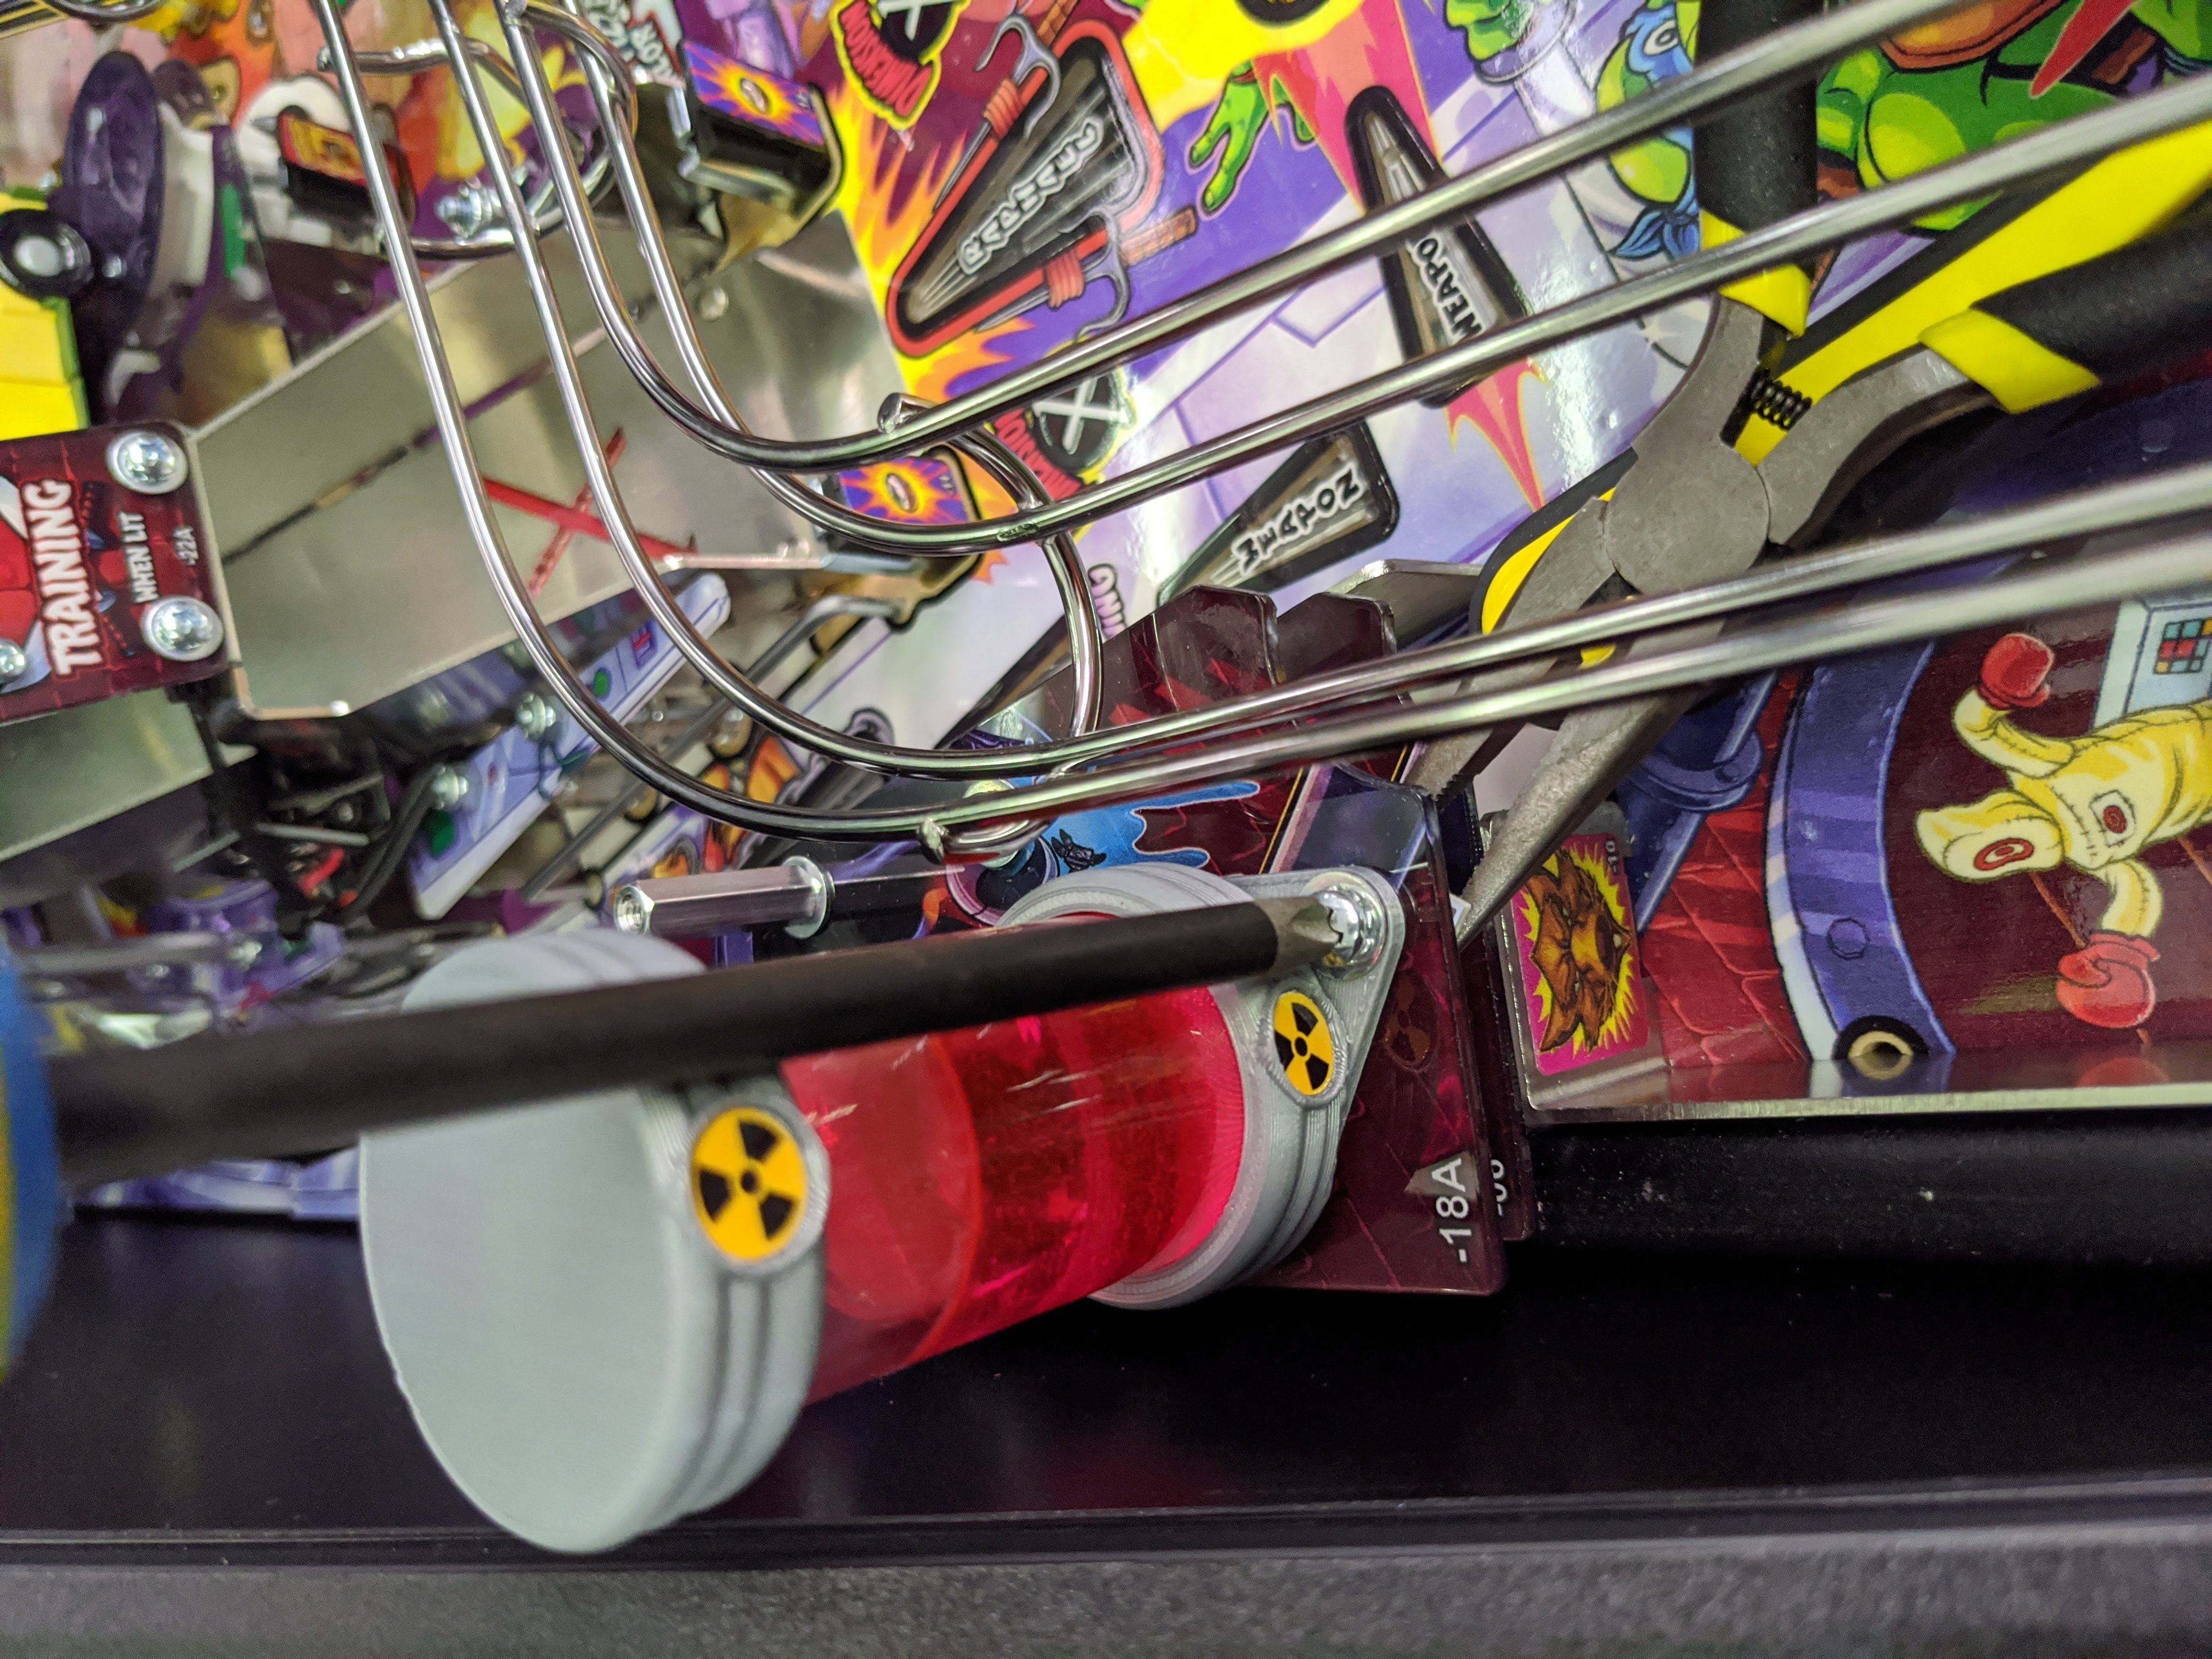
- Similar to how the rear screw was removed, tighten the screw back into place. The Mutagen flasher should now be firmly in place.
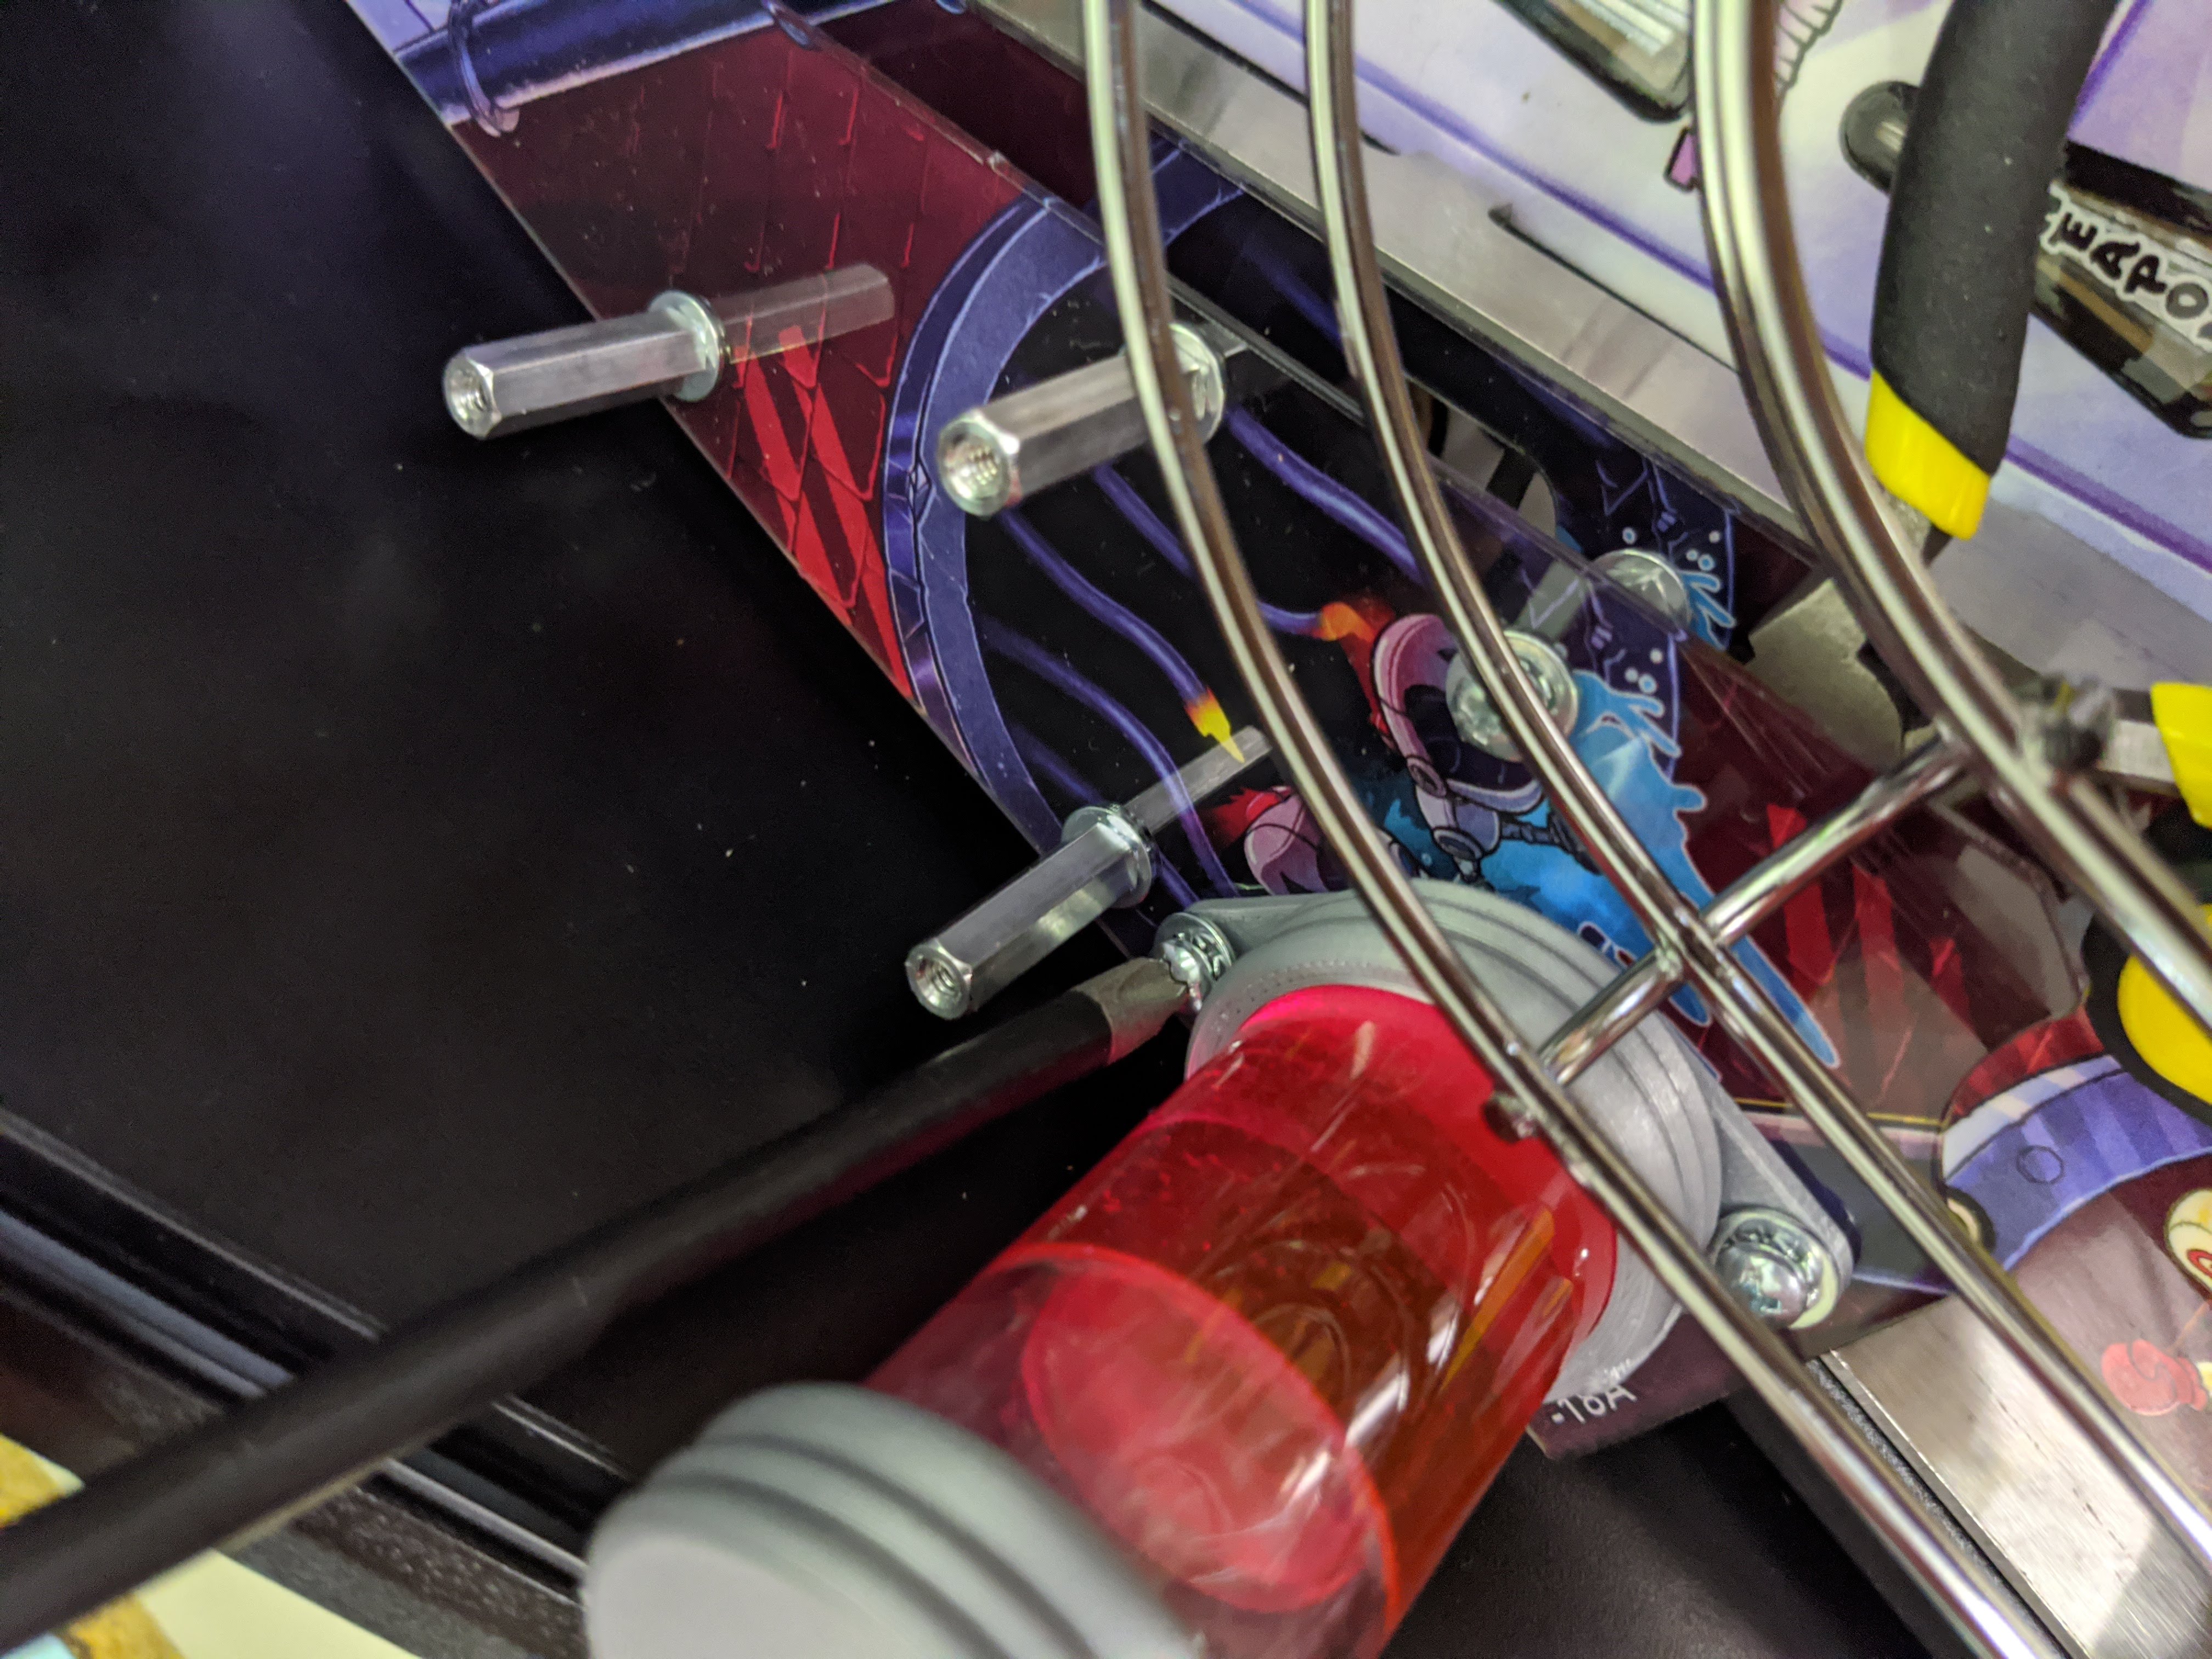
- Replace the ball trap plastic with the three screws removed in the first step.
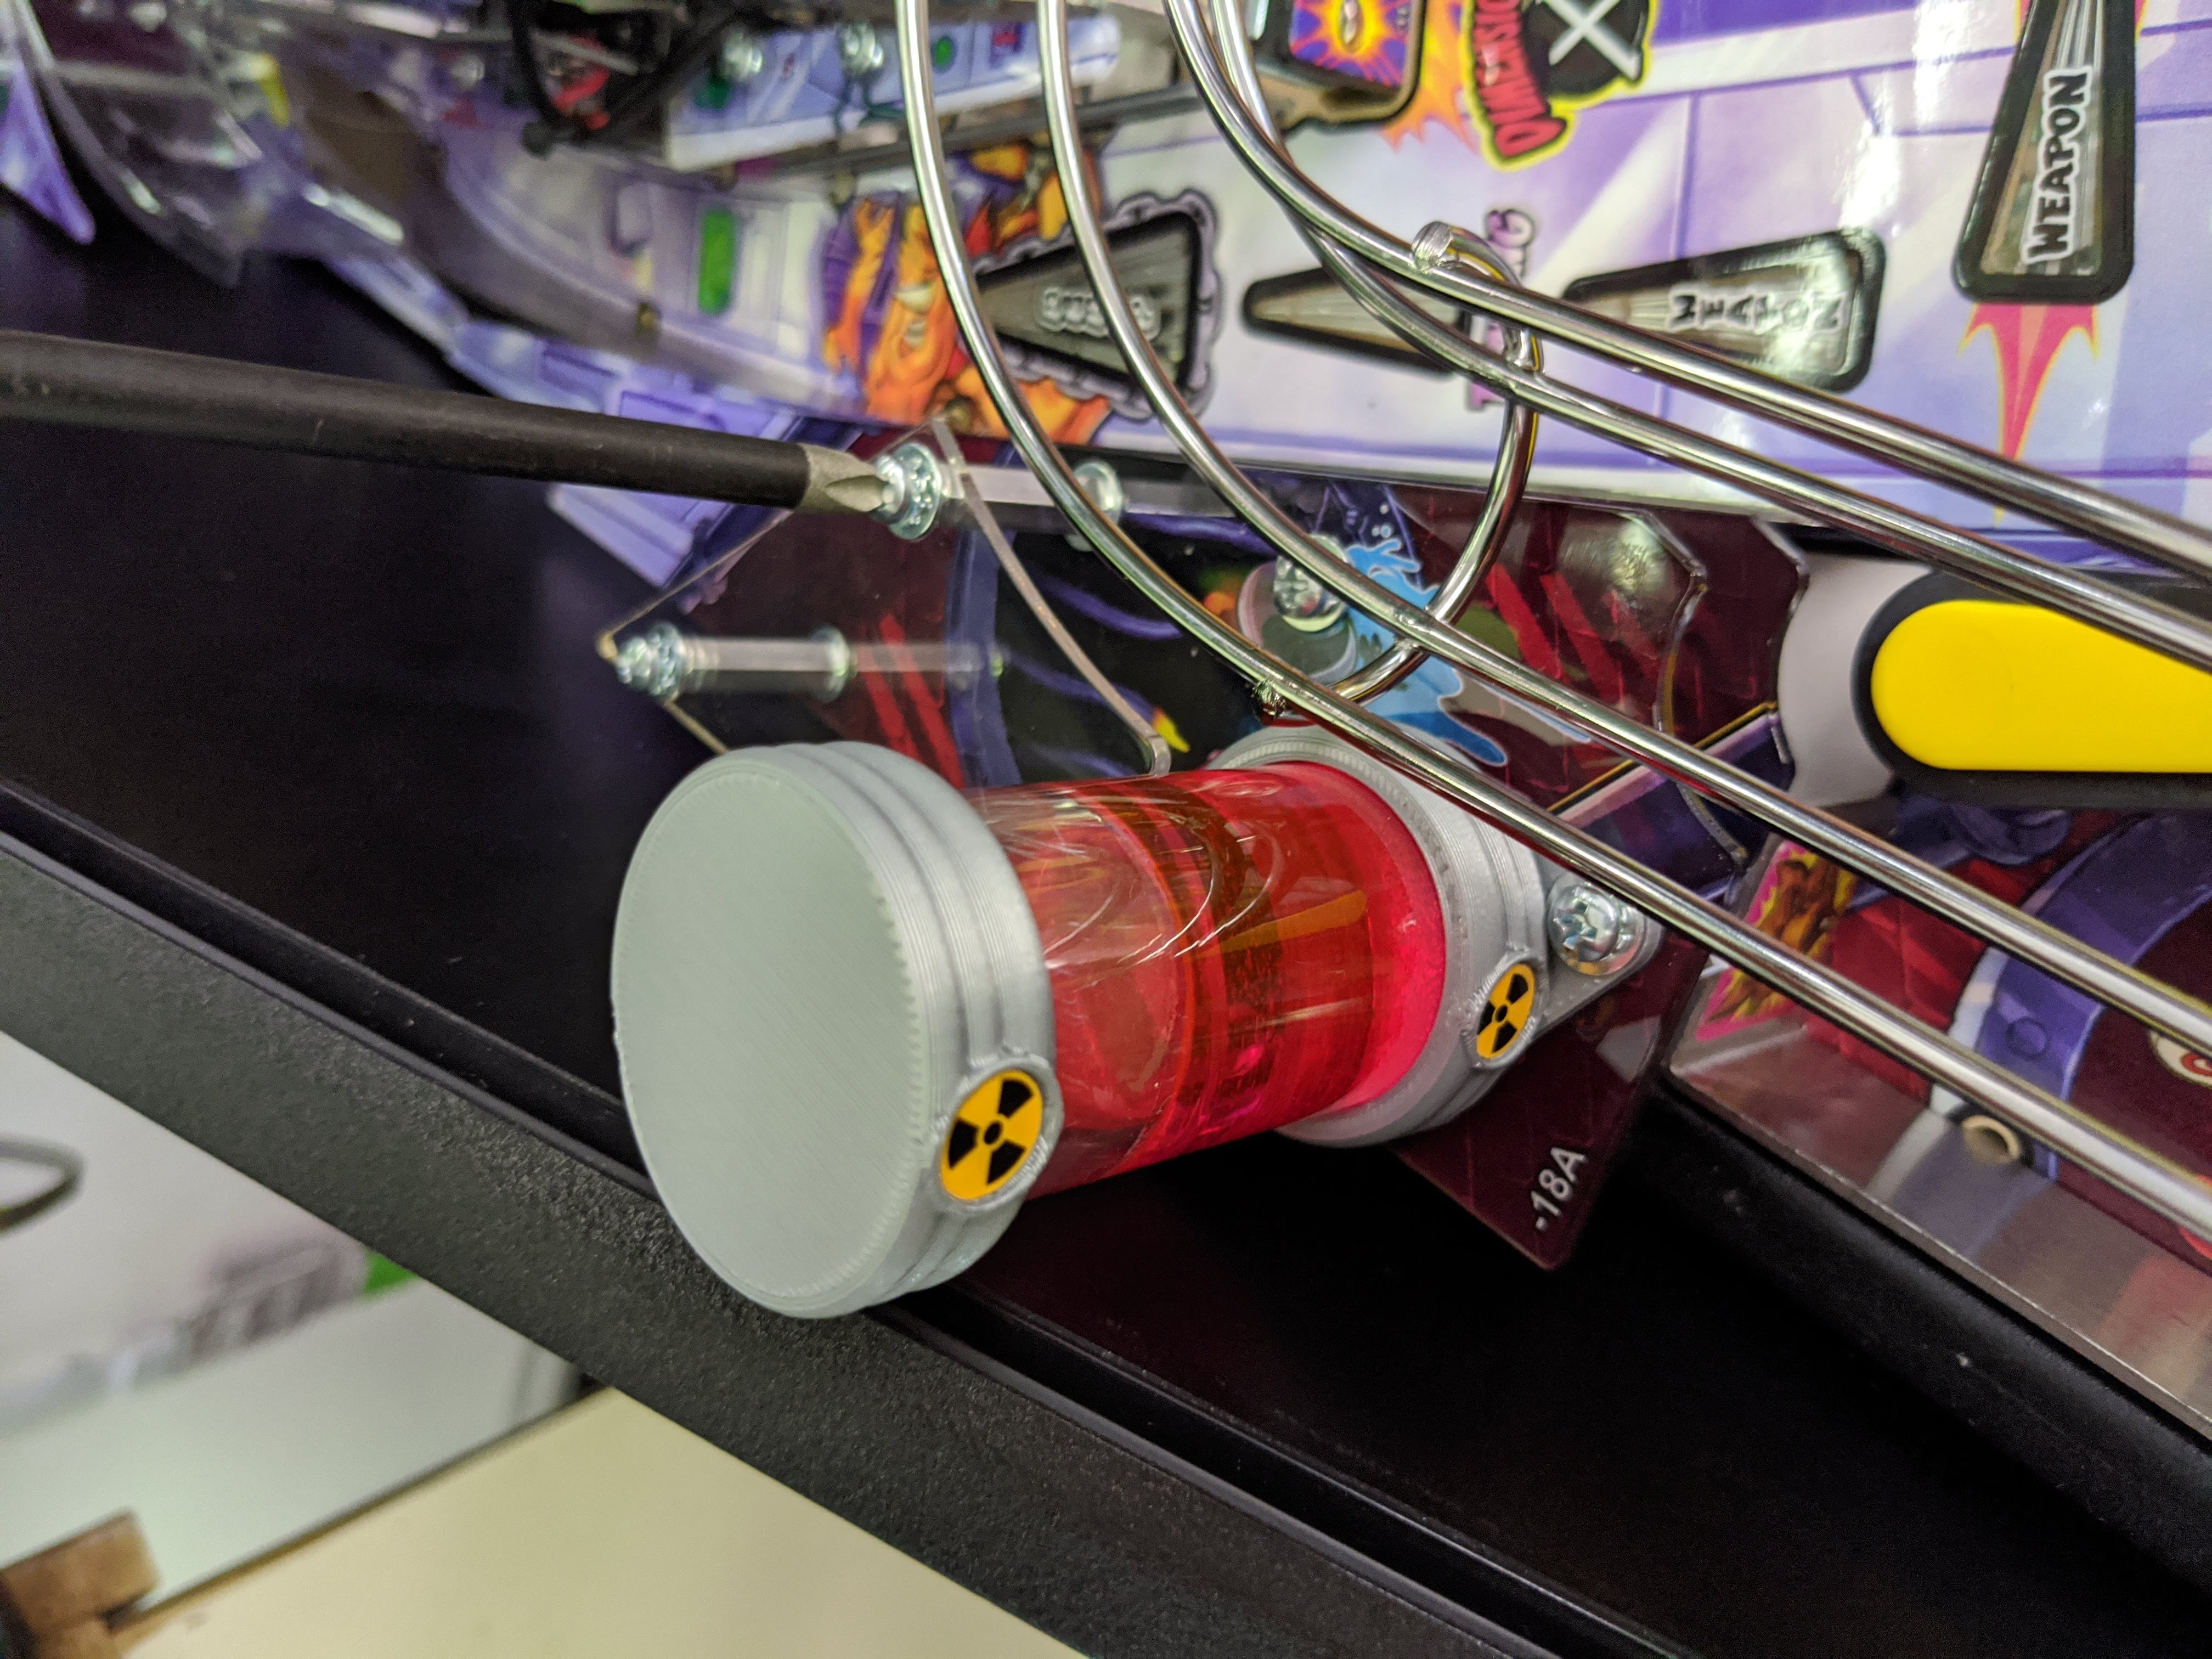
Installation Complete

Comments
0 comments
Please sign in to leave a comment.